WTP010 Hair Integration Systems For Women From Hair Replacement System Suppliers
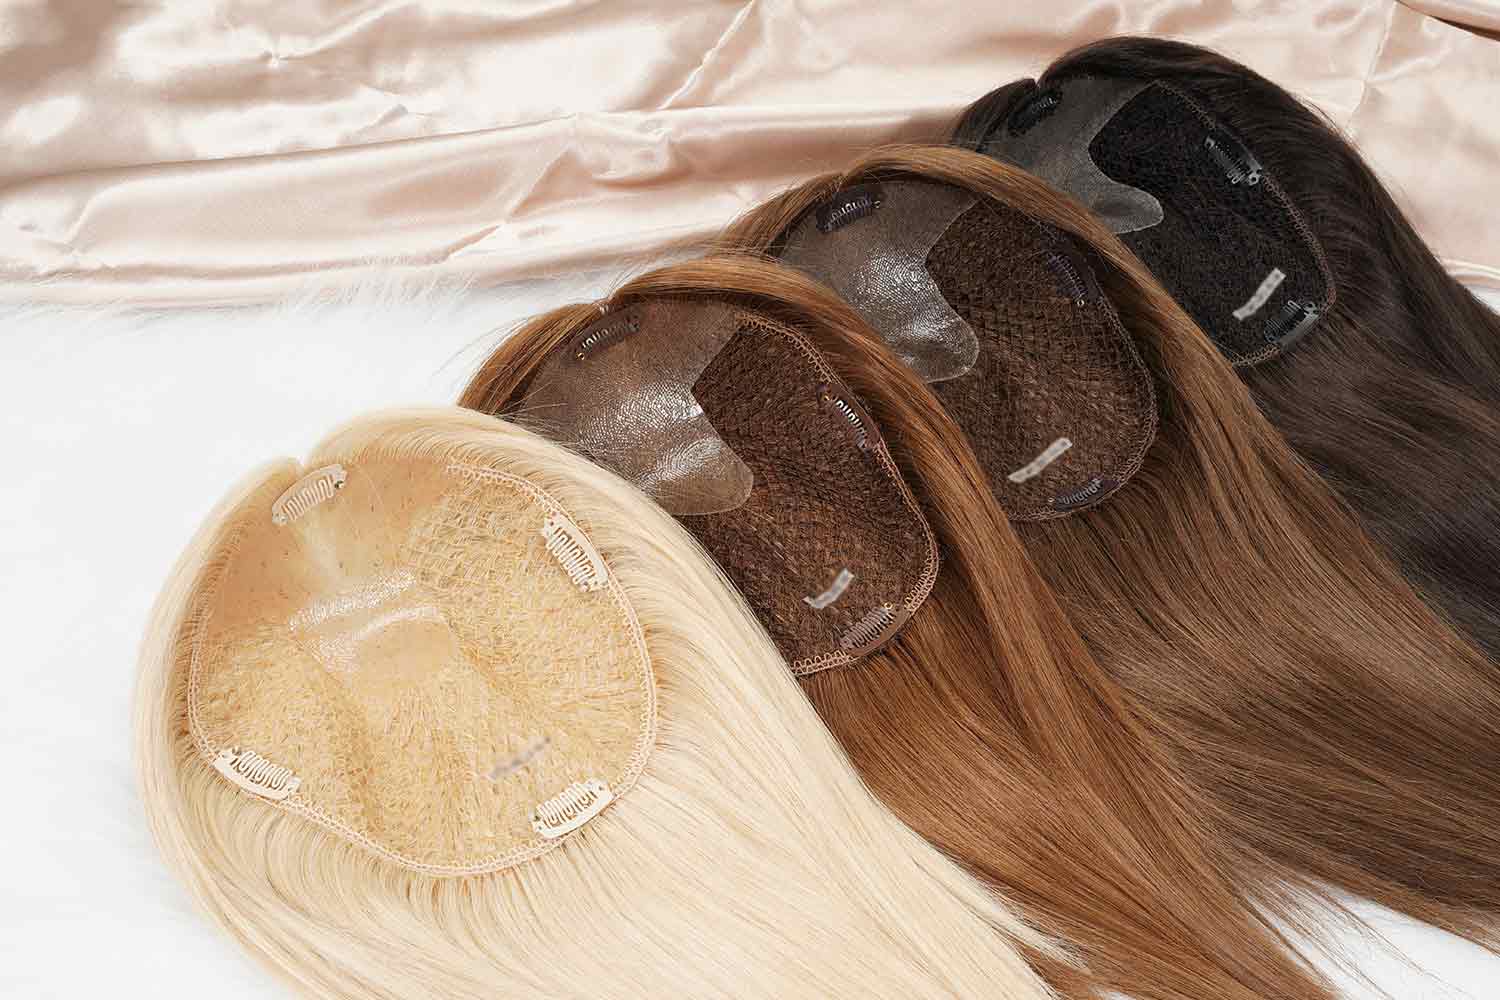
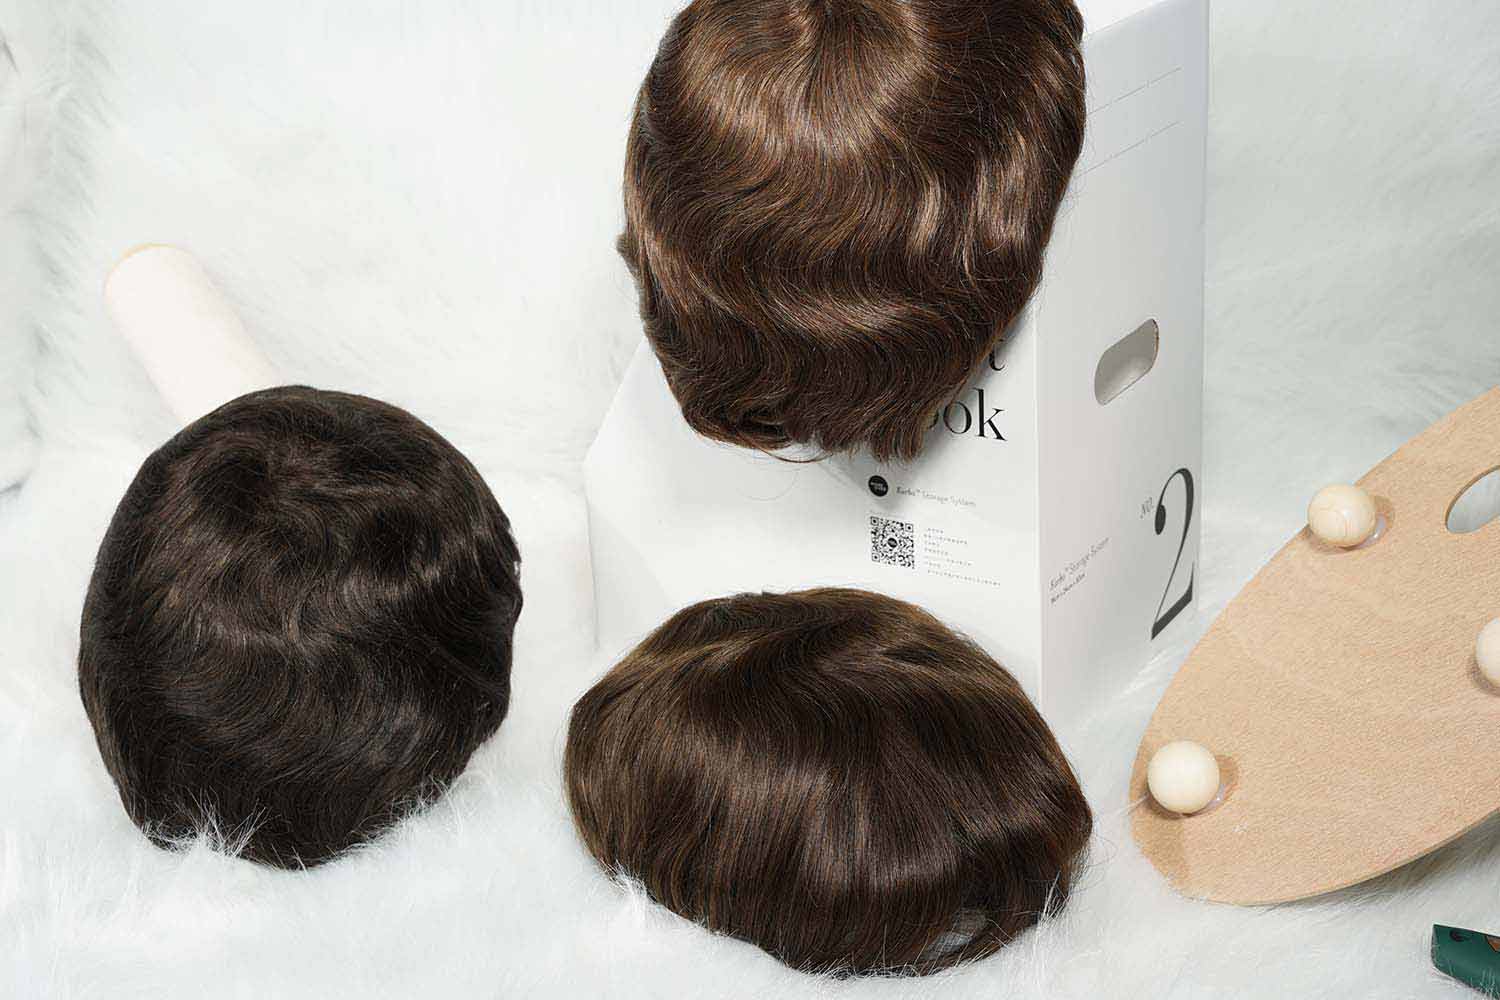
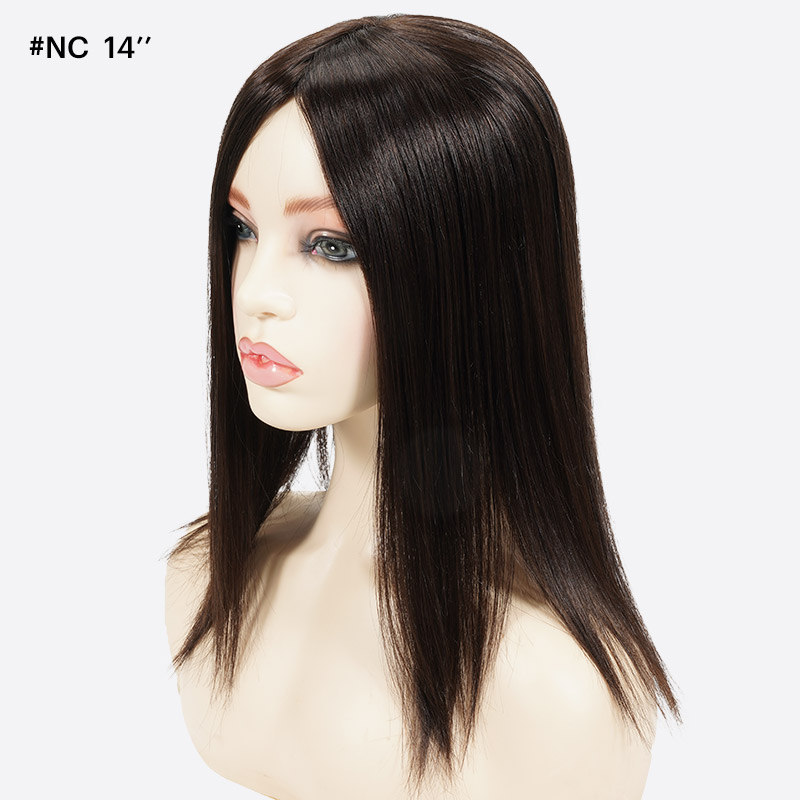
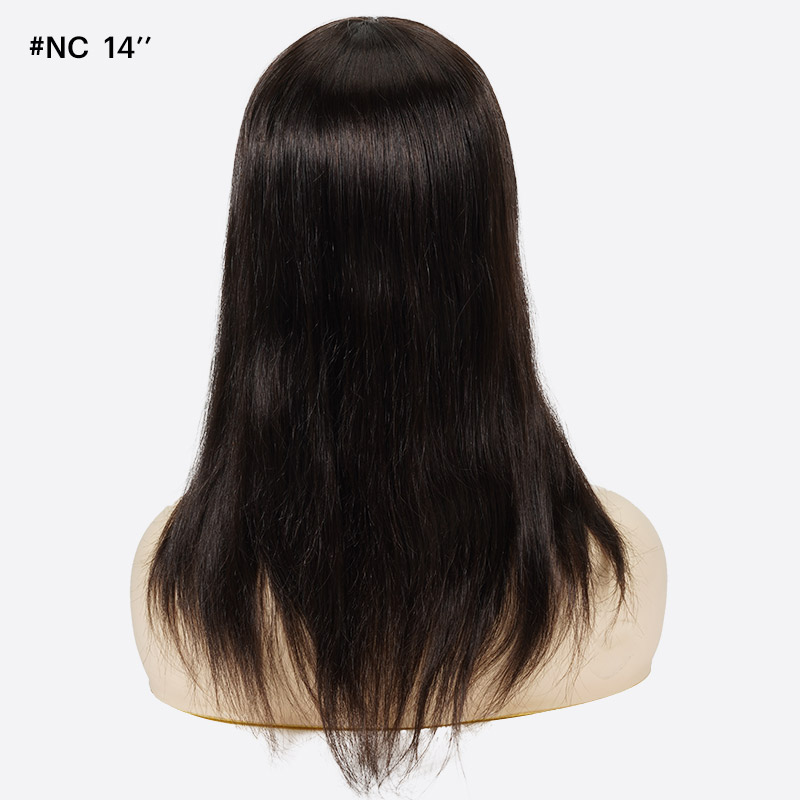
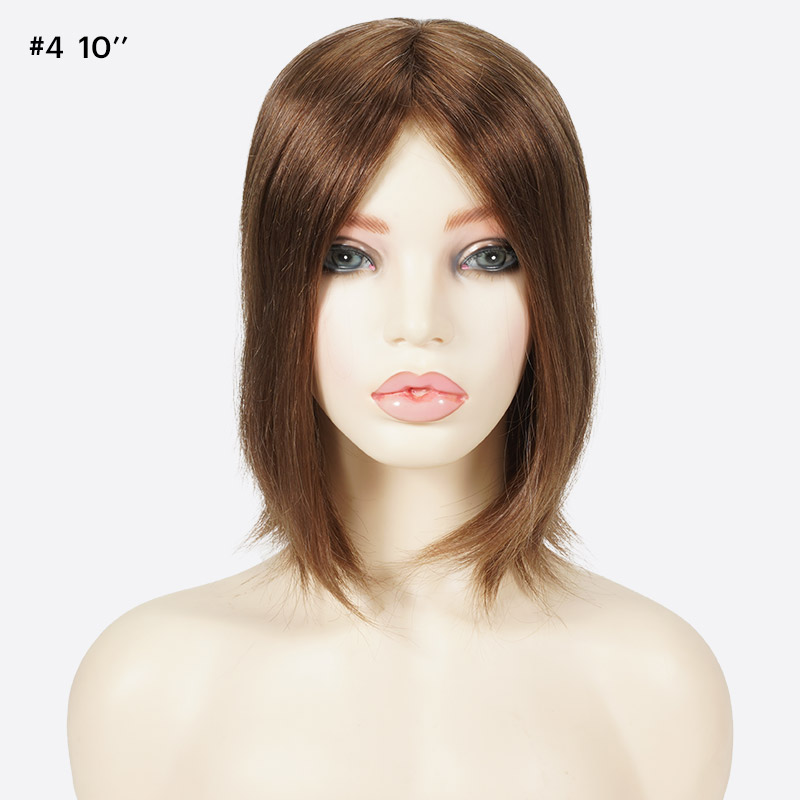
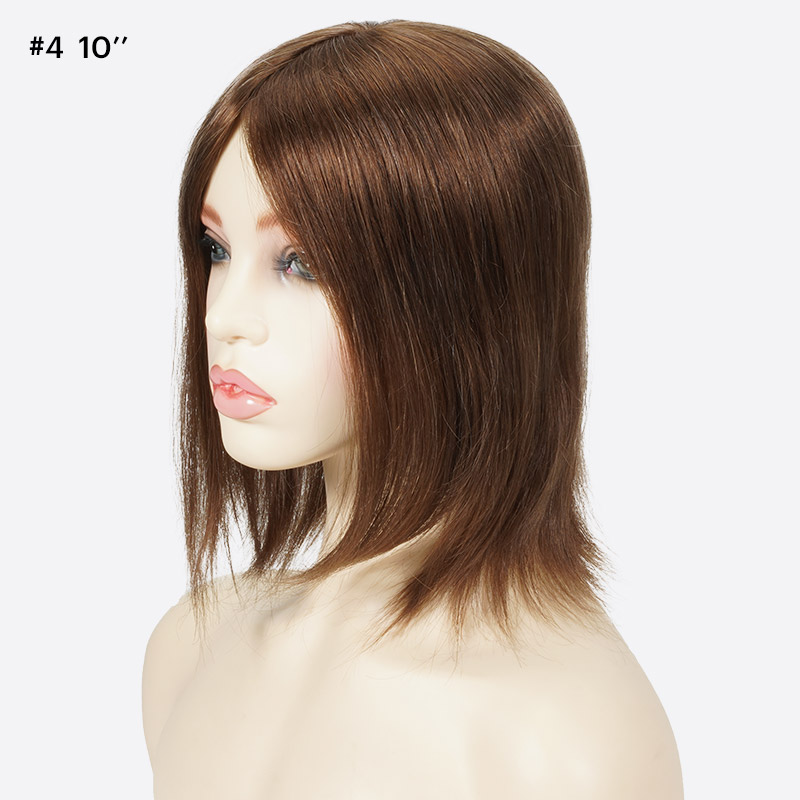
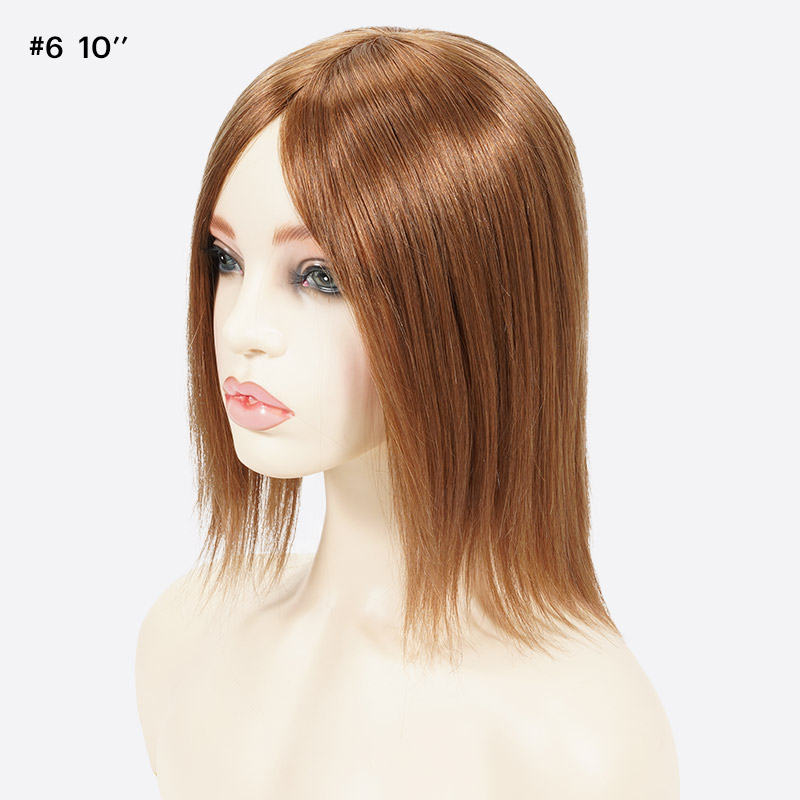
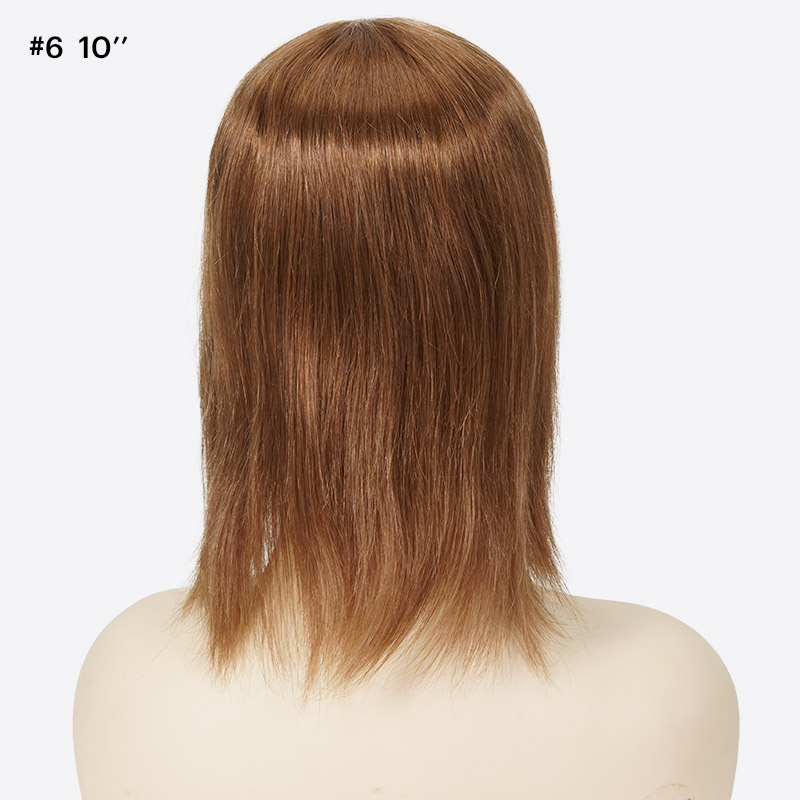
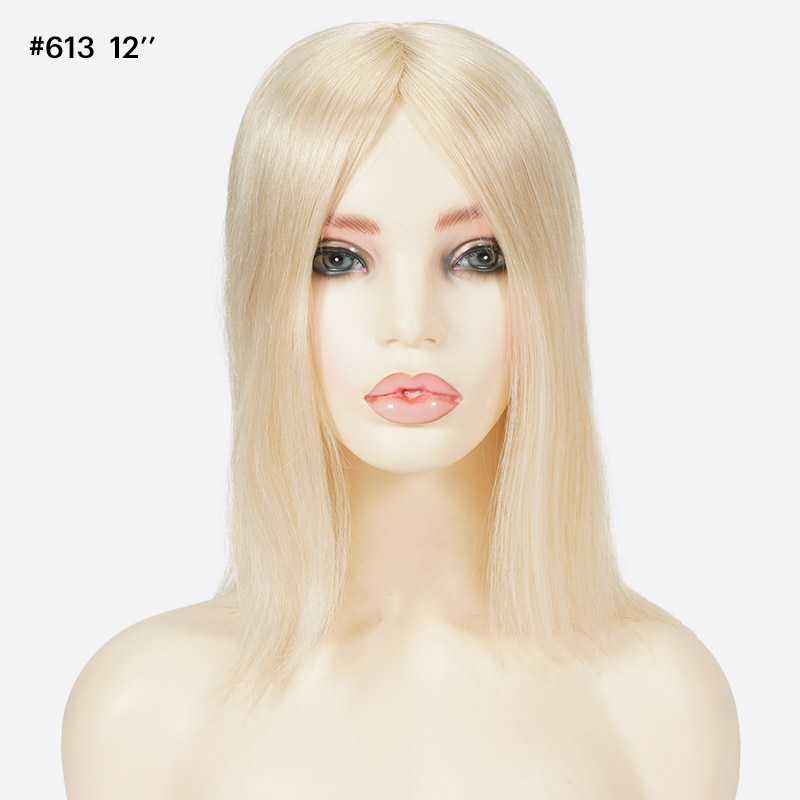
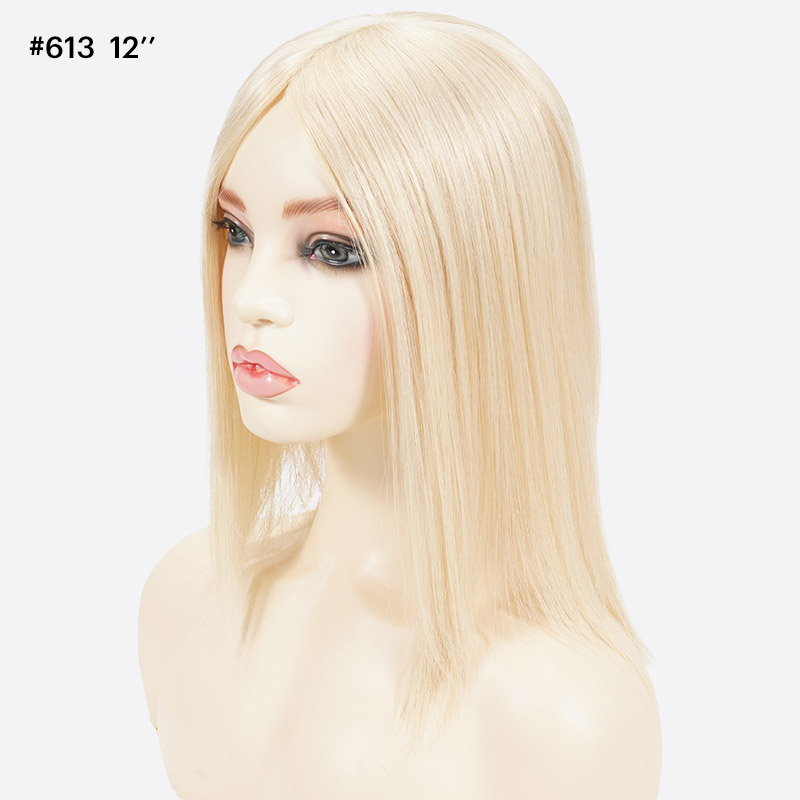
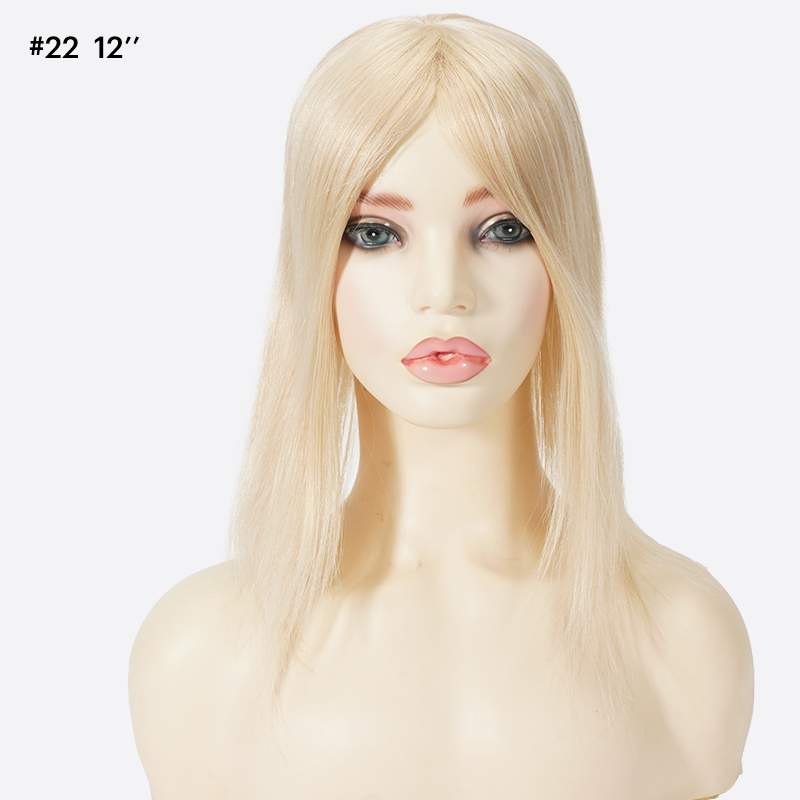
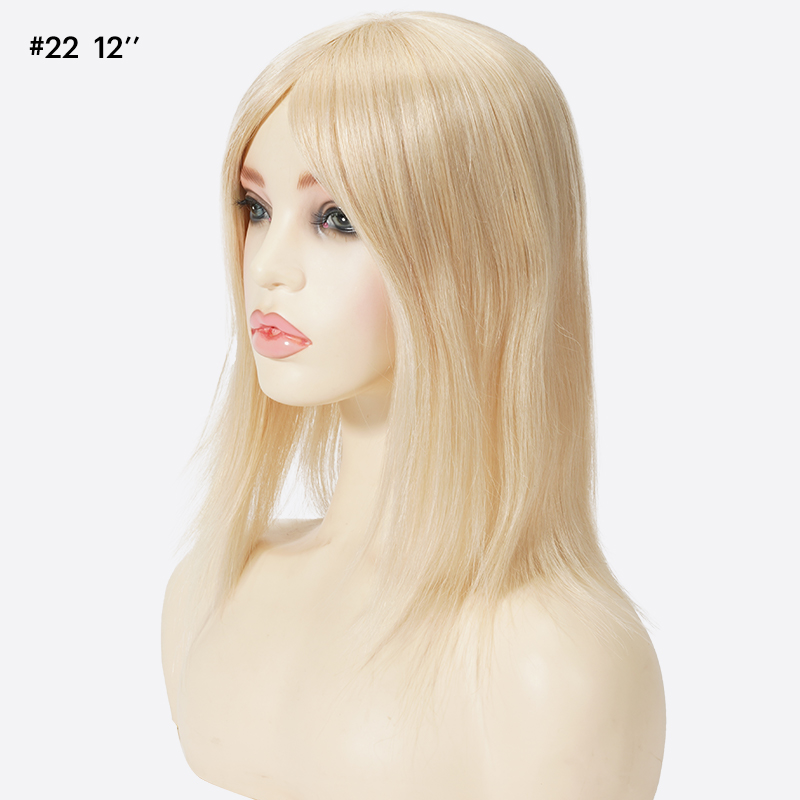
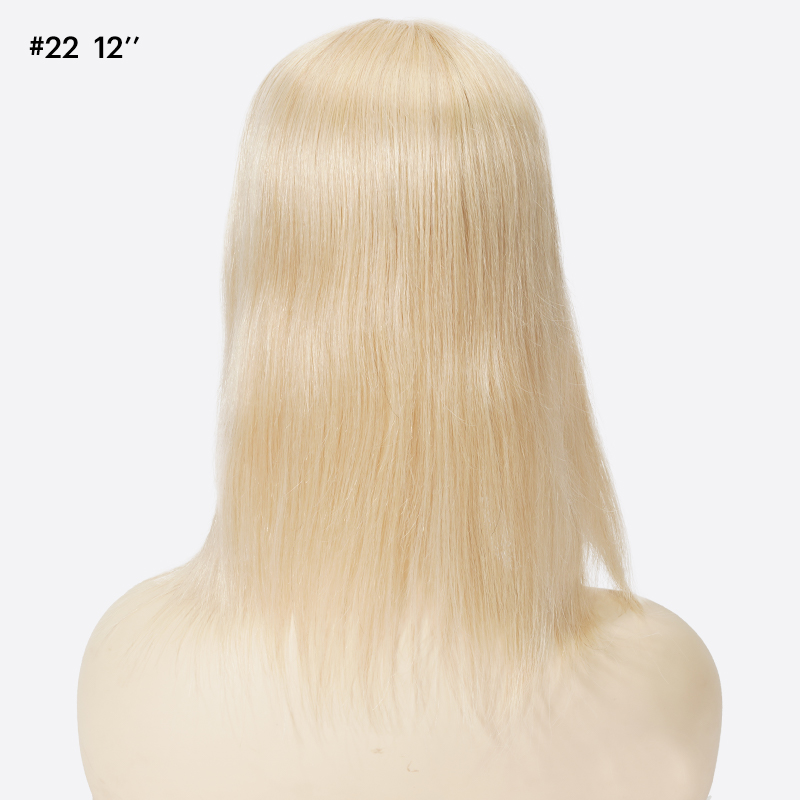
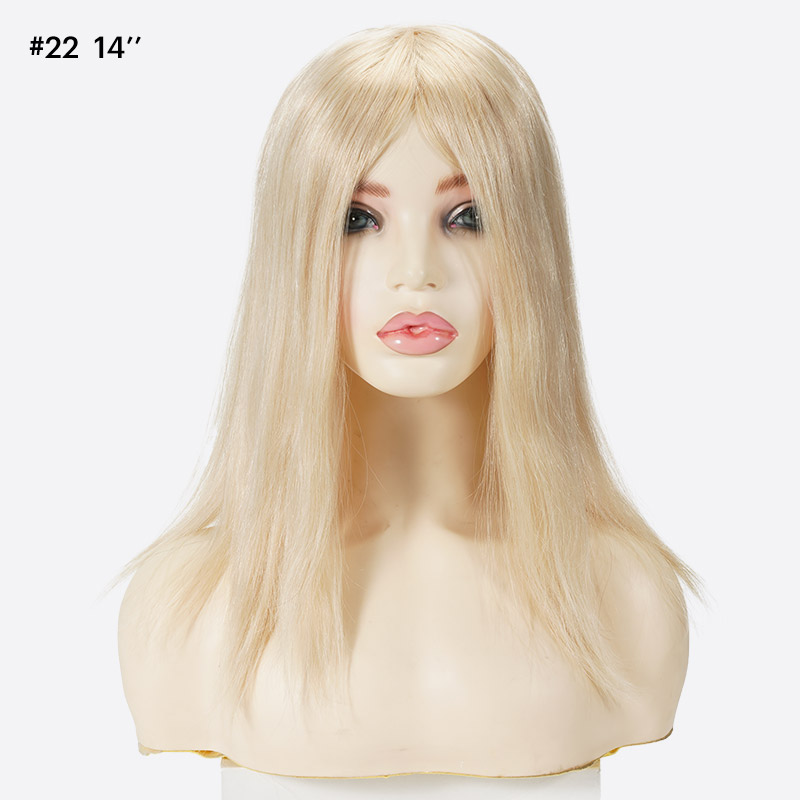
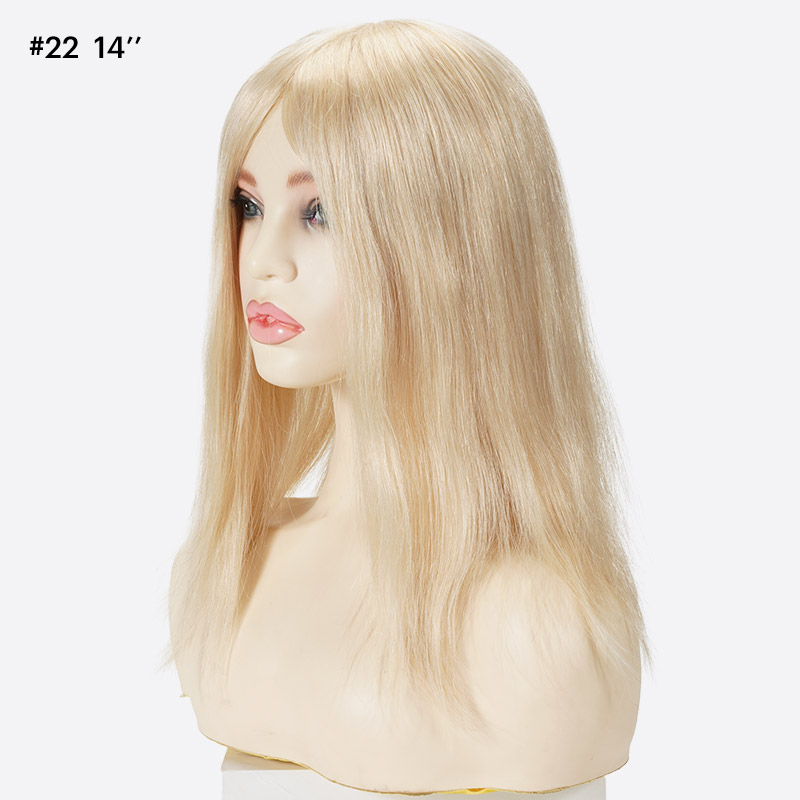
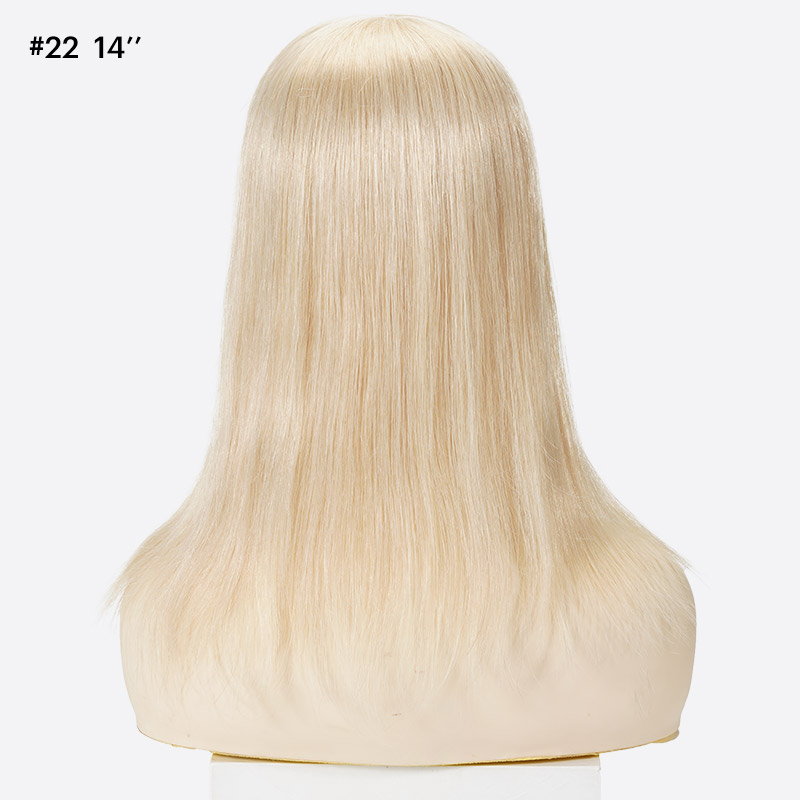
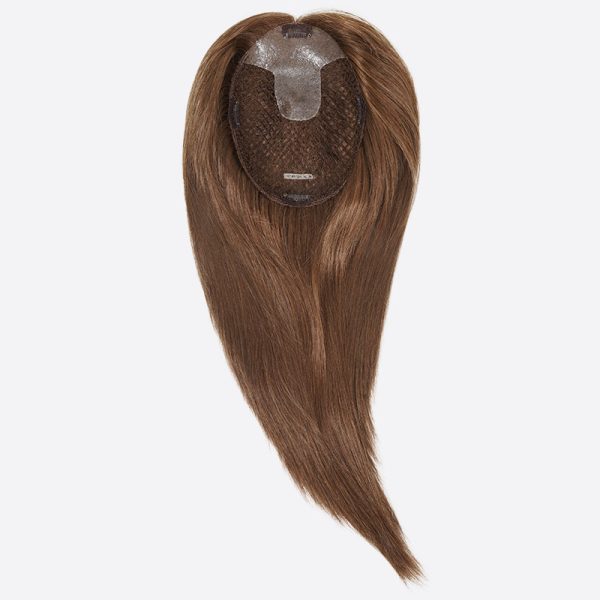
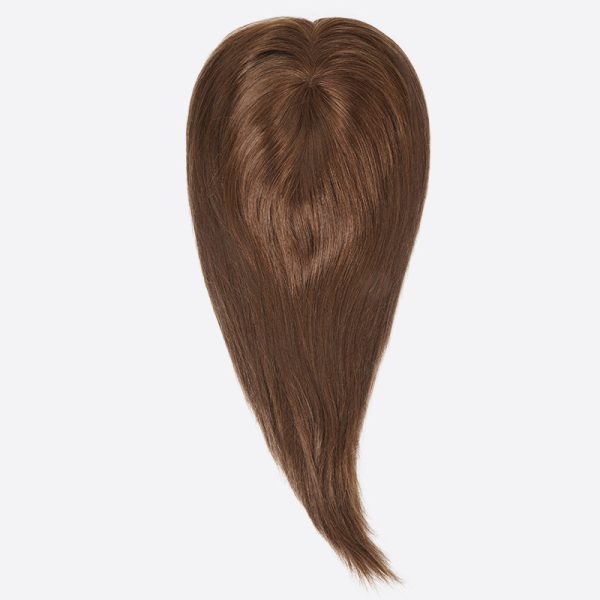
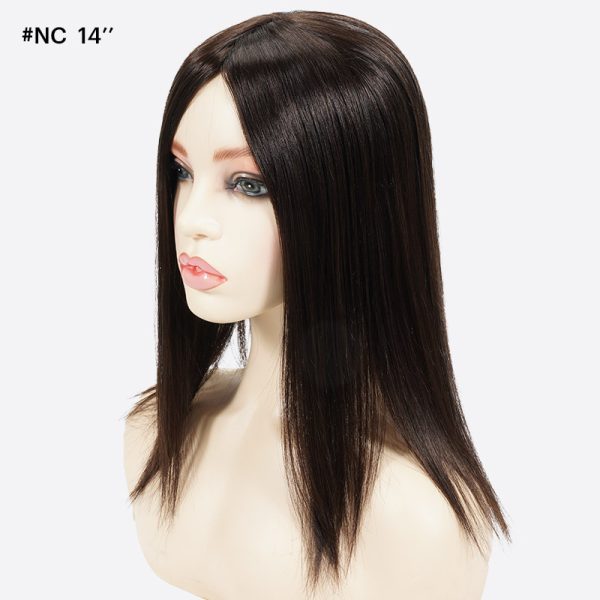
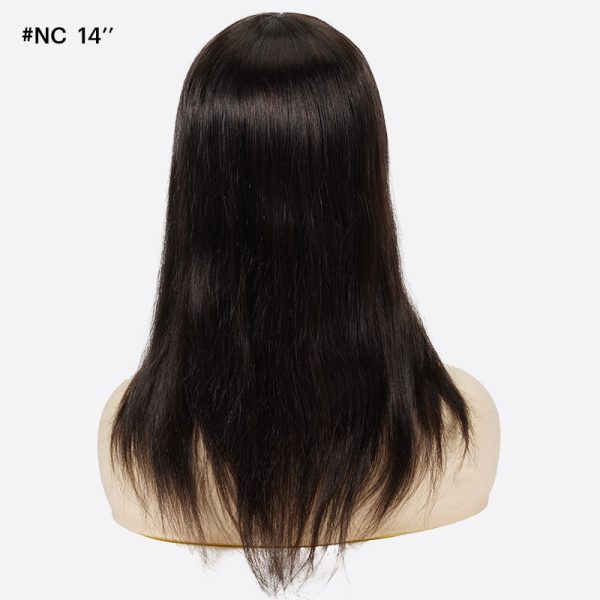
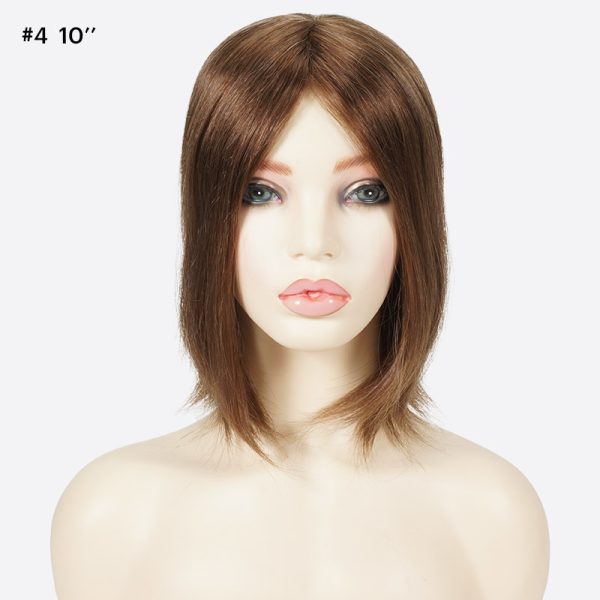
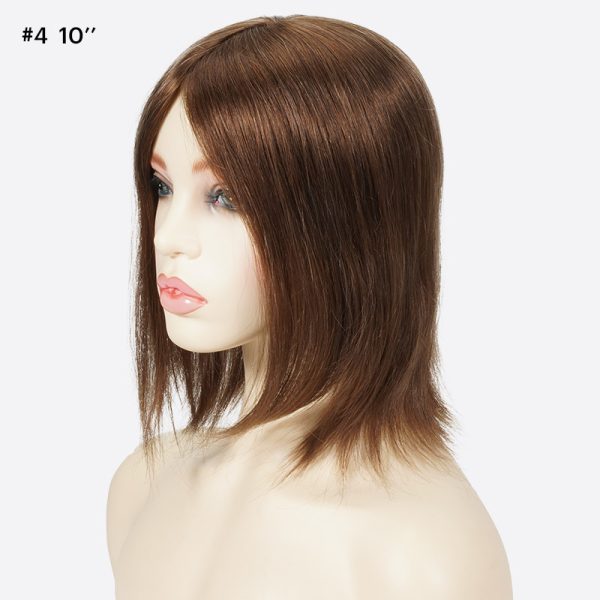
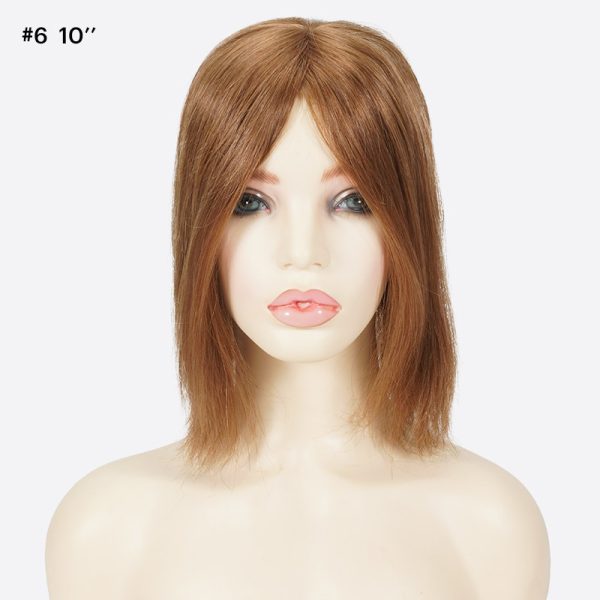
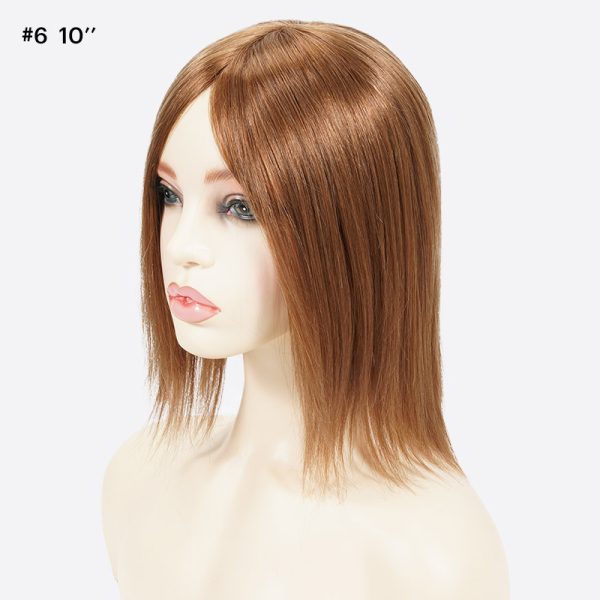
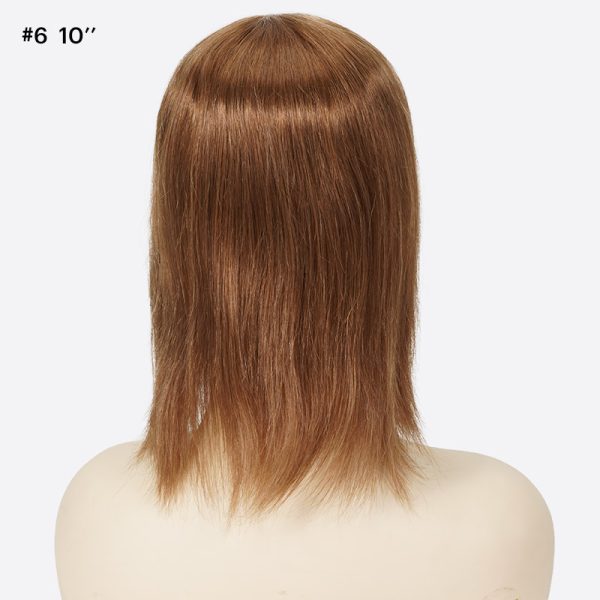
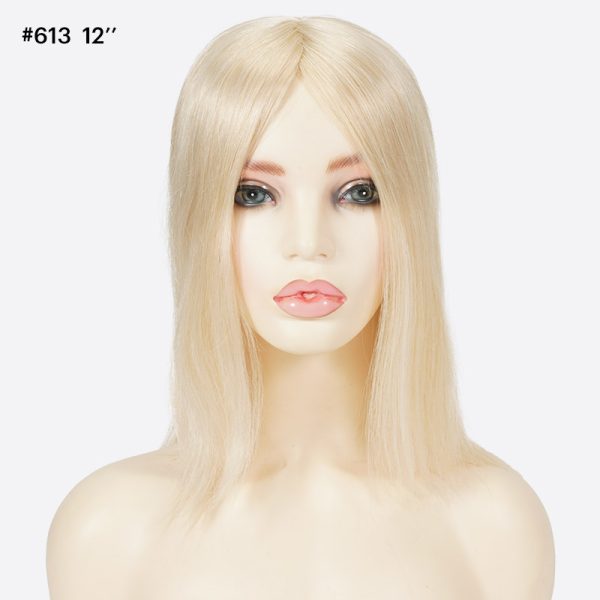
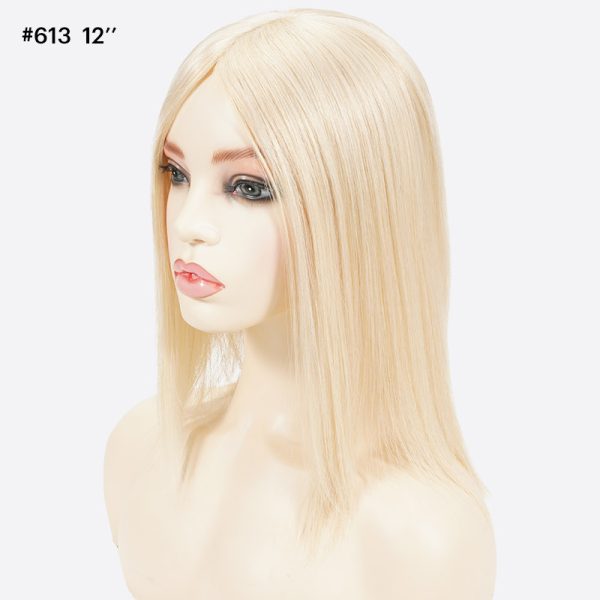
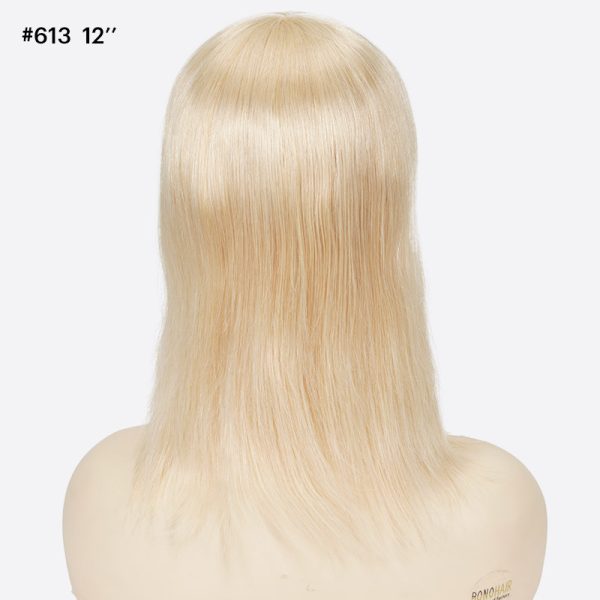
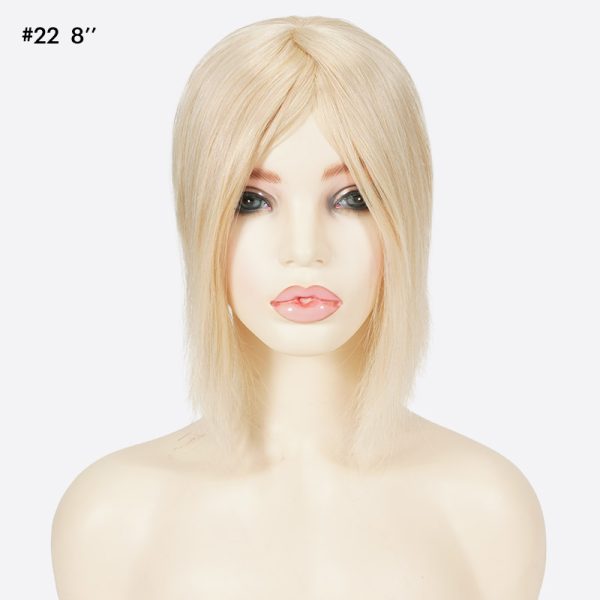
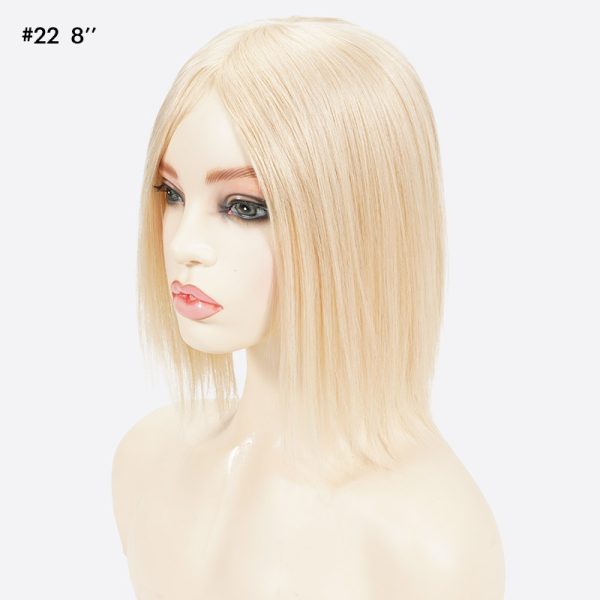
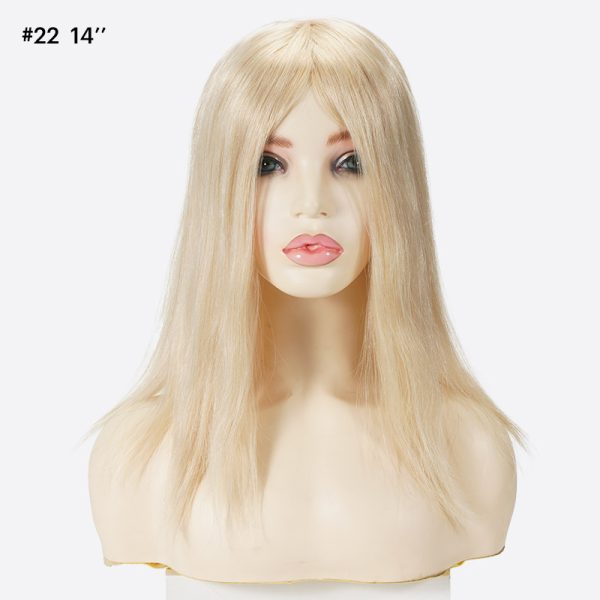
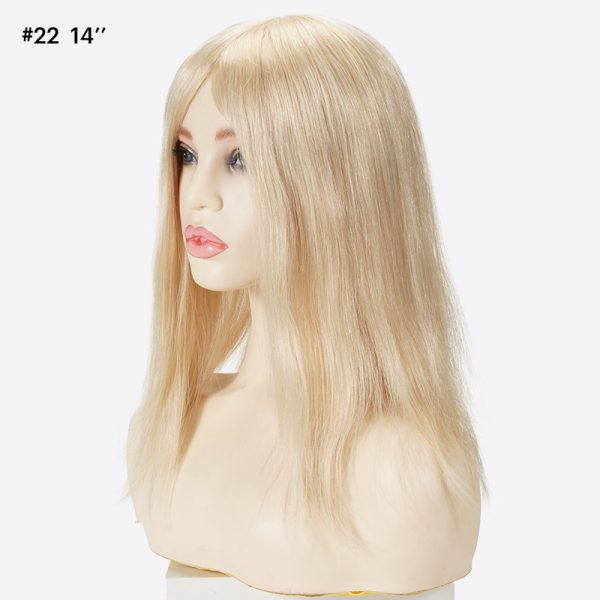
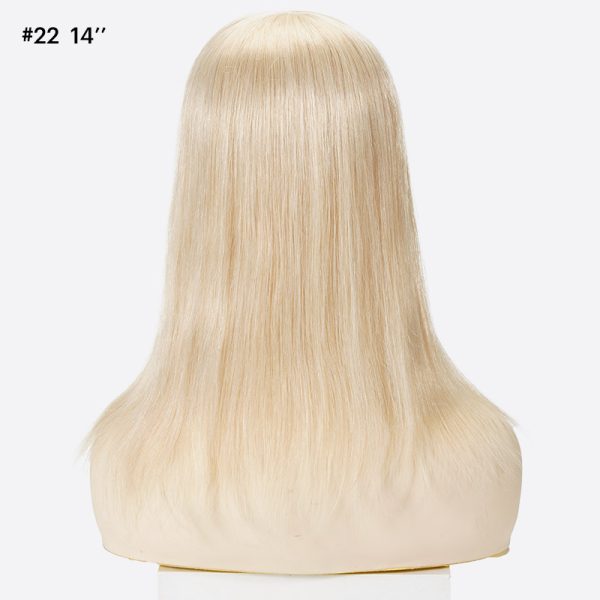
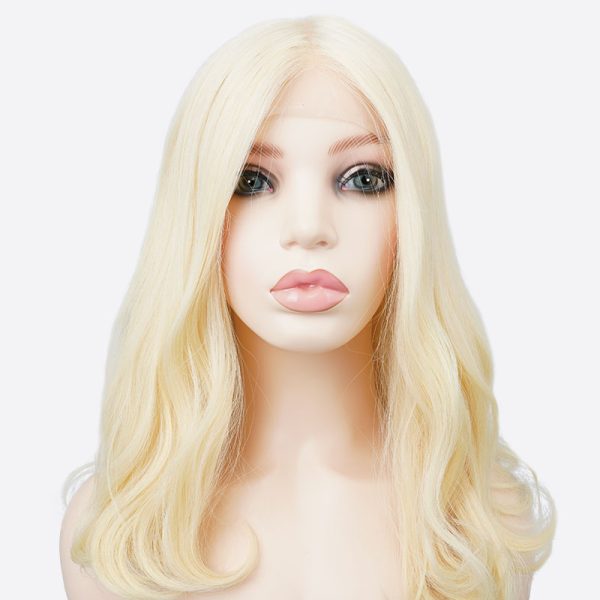
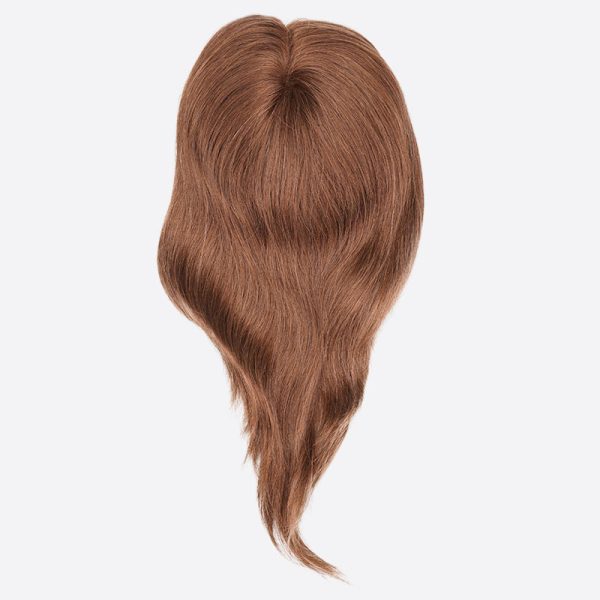
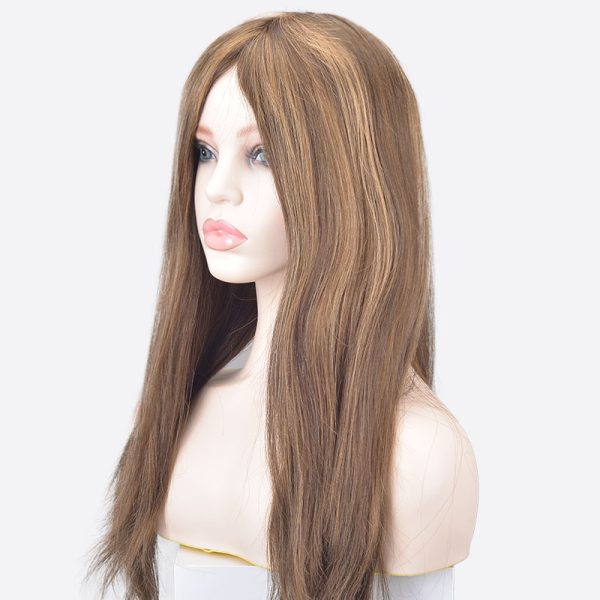
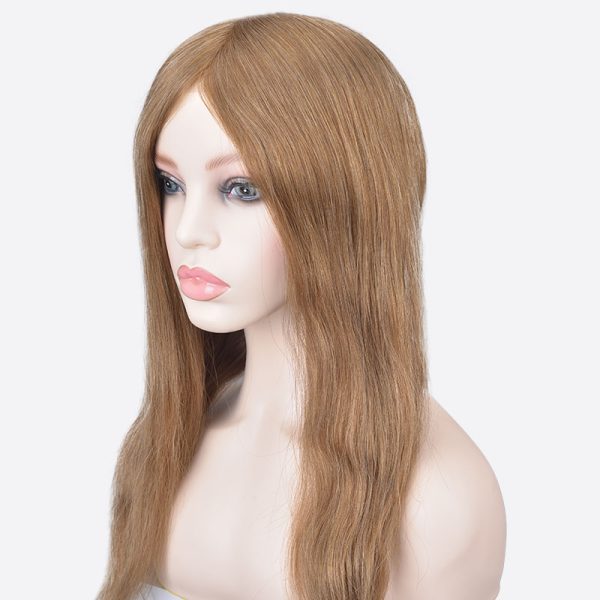
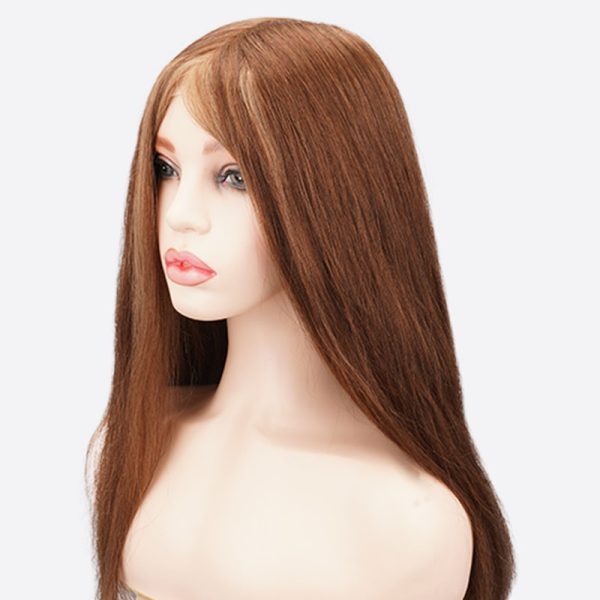
As one of the best hair integration wigs suppliers, we supply many kinds of hair replacement systems for women, including hair integration systems. The WTP010 is a very popular integration hair system. It can instantly change your customers’ long-standing thinning hair by adding hair to their own natural hair.
![]()
Hair Color: |
|---|
|
All
Solid
<50% Grey
≥50% Grey
Brown
Blond
Redish
Black
Other
 Black-#NC
#NC
 Brown-#4
#4
 Brown-#6
#6
 Blonde-#22
#22
 Blonde-#613
#613
View more
|
Payment Method


-
3-5 business days for delivery
-
FedEx, DHL, TNT, UPS, EMS
Details about hair integration systems
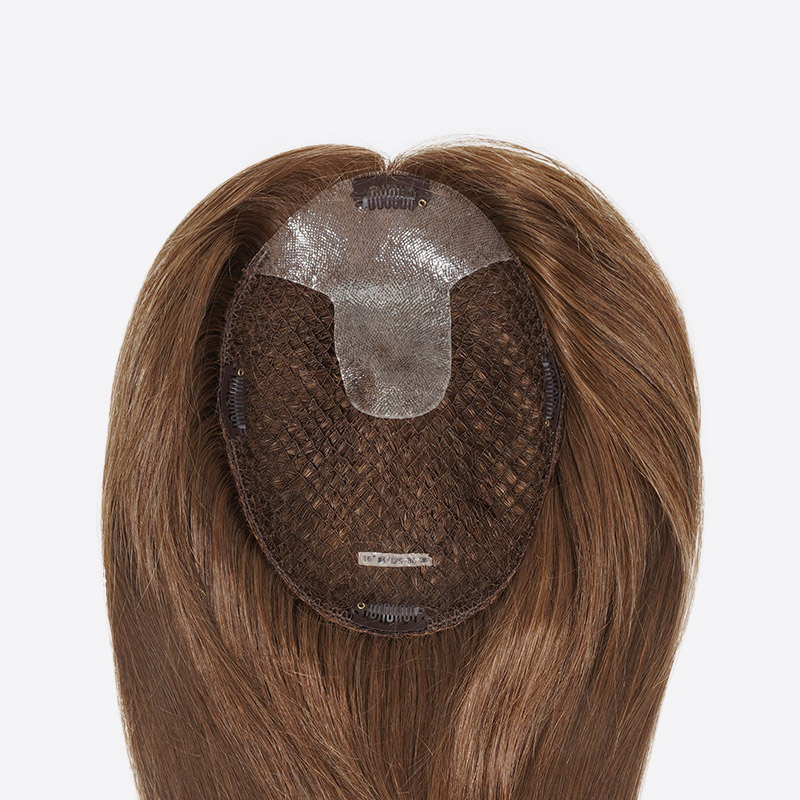
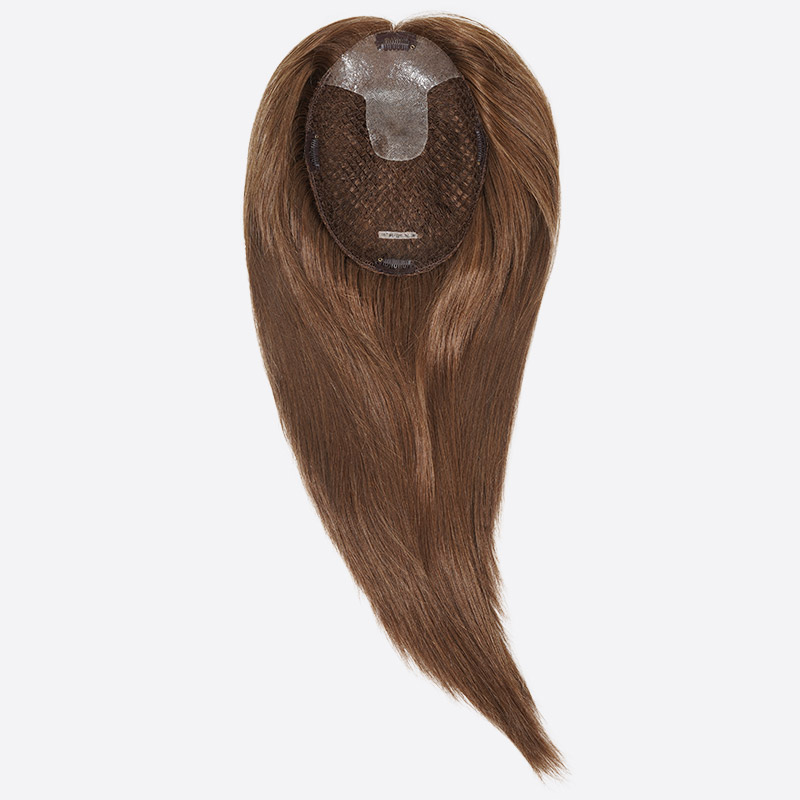
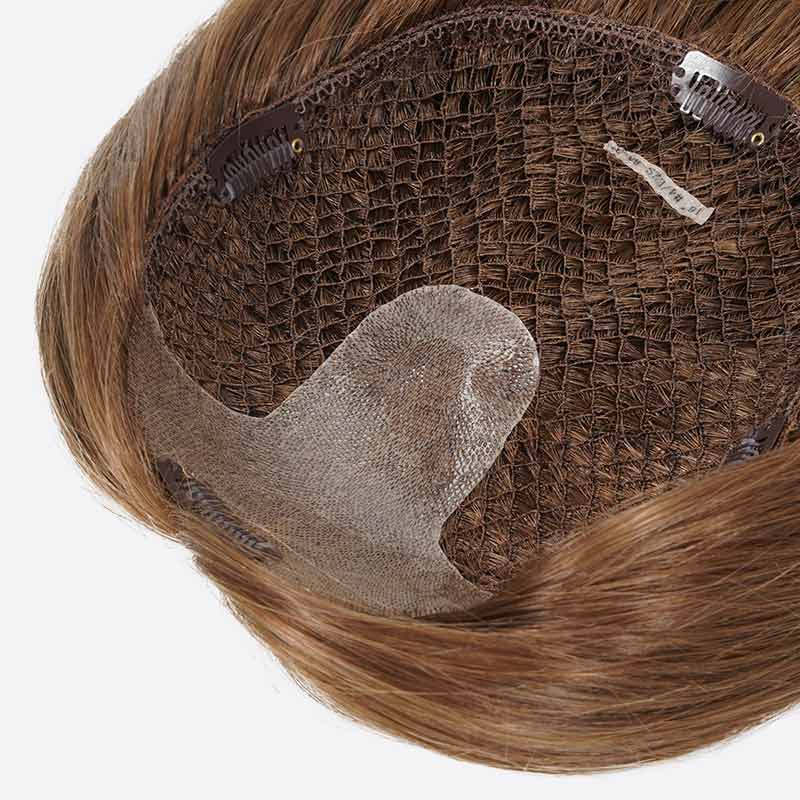
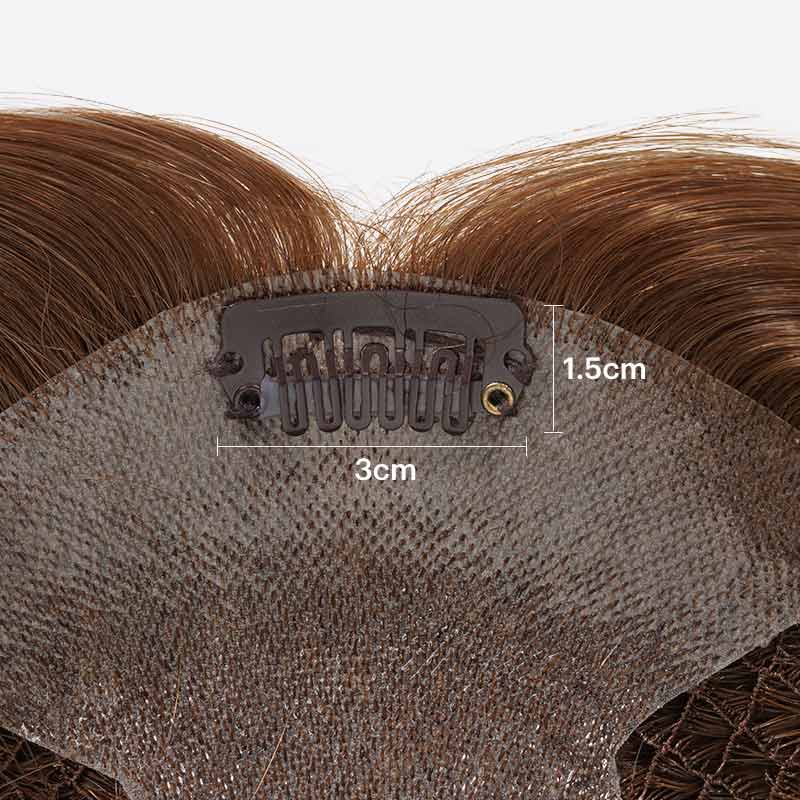
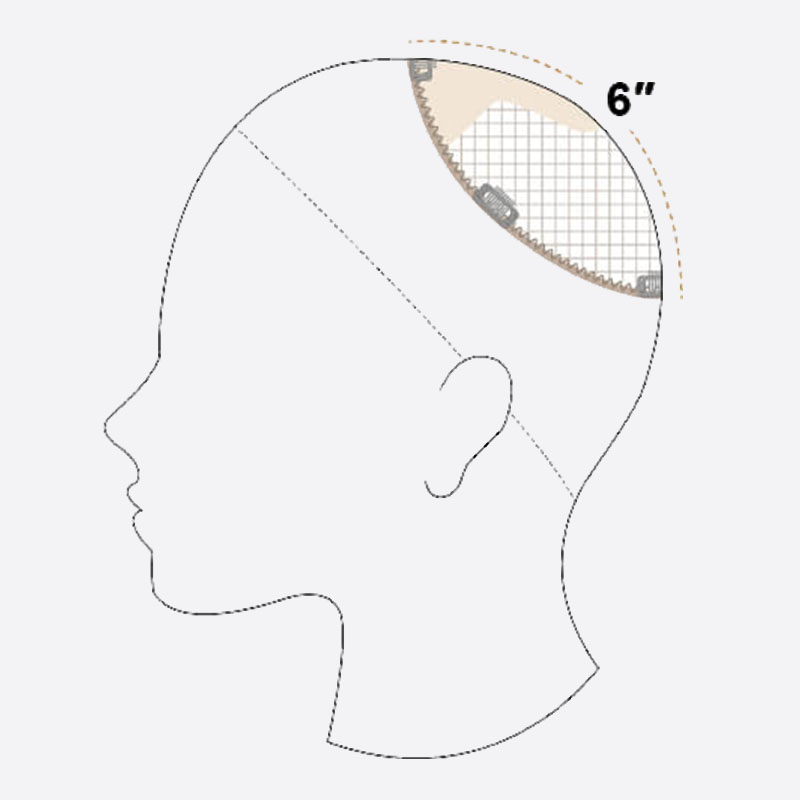
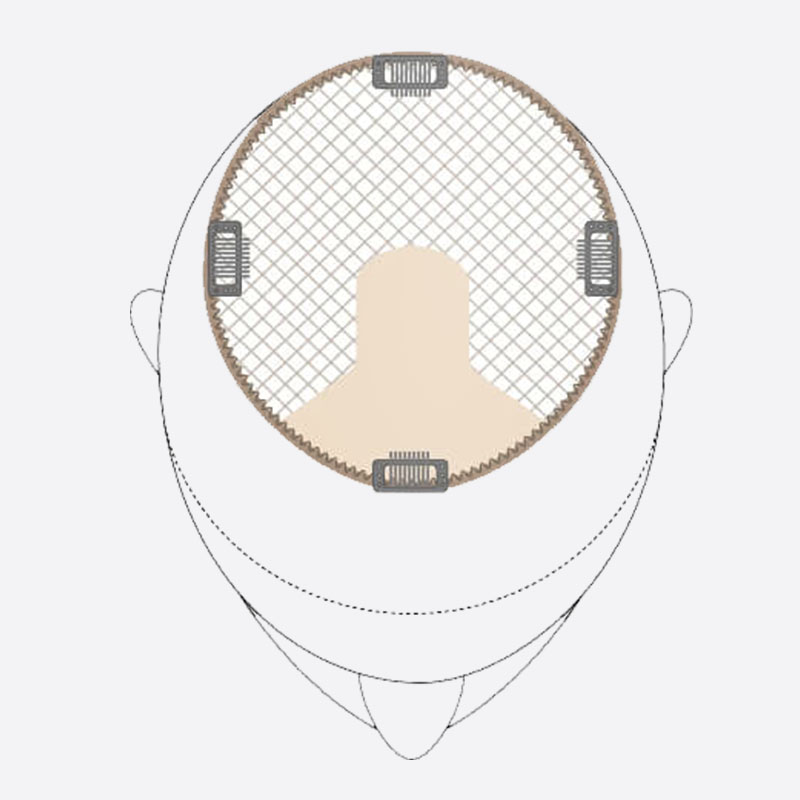
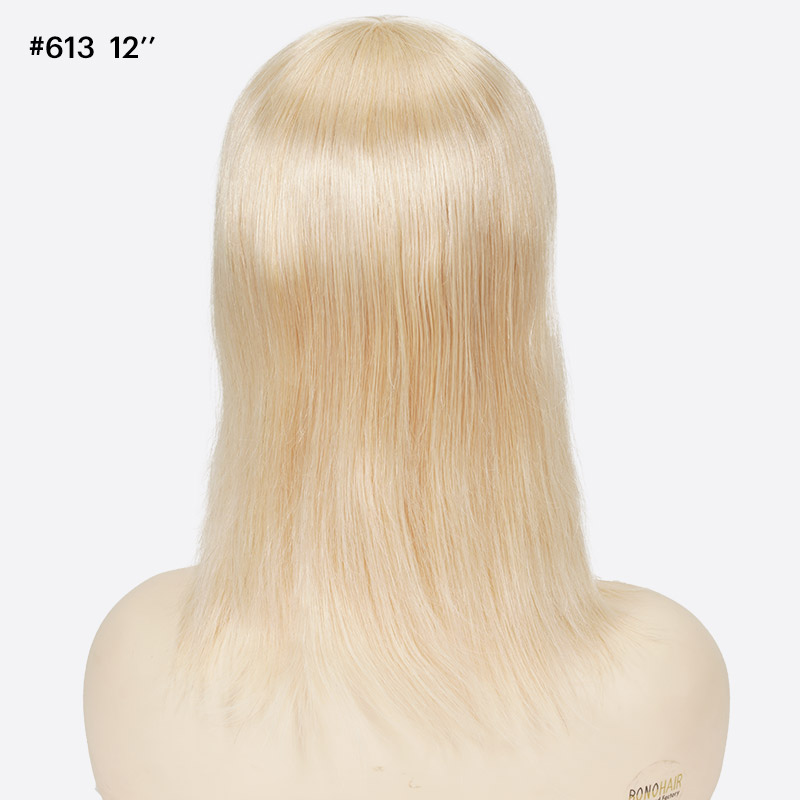
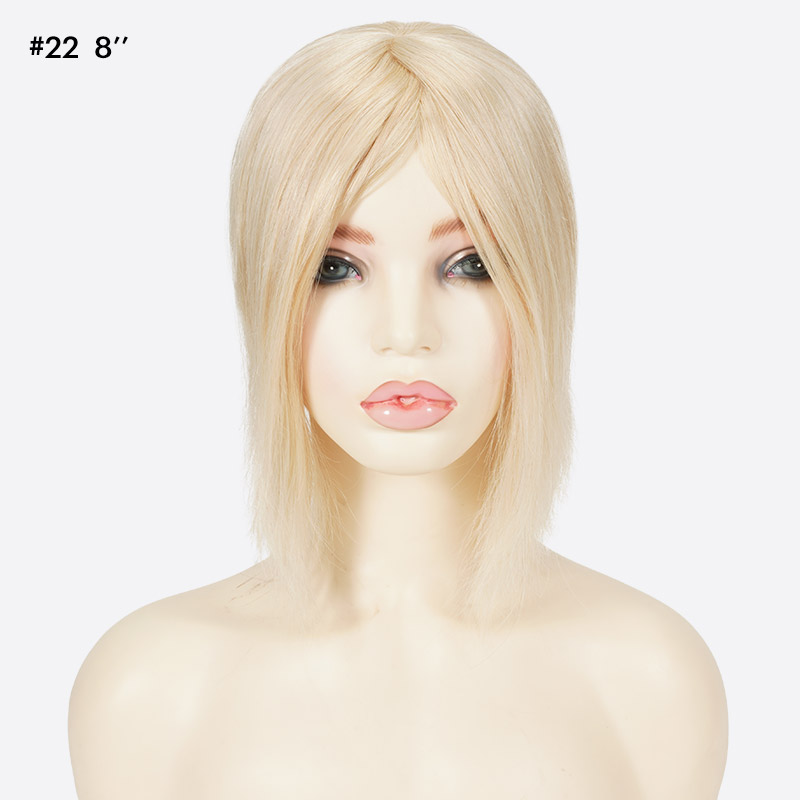
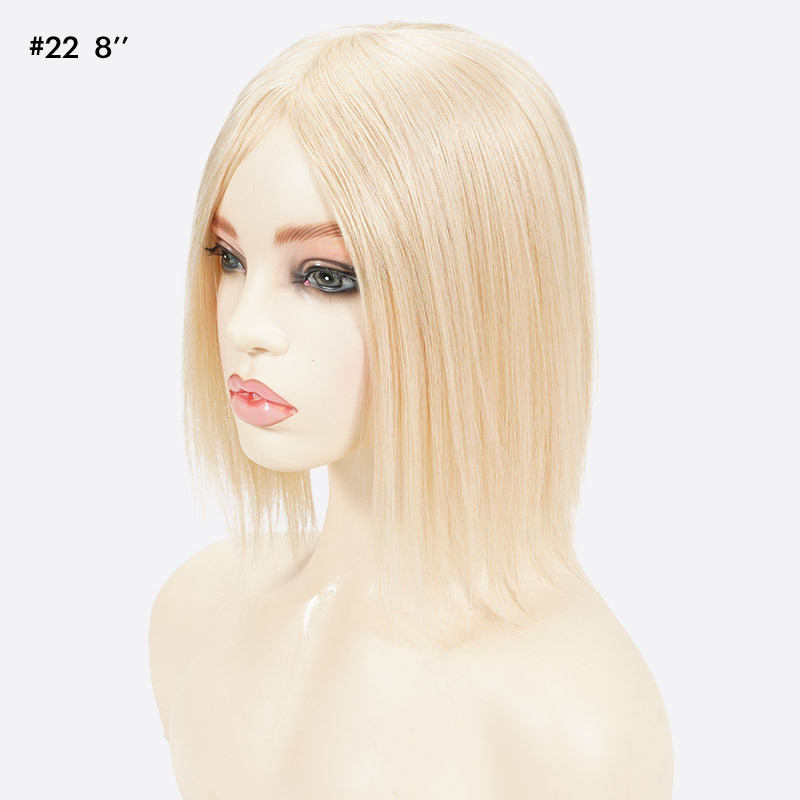
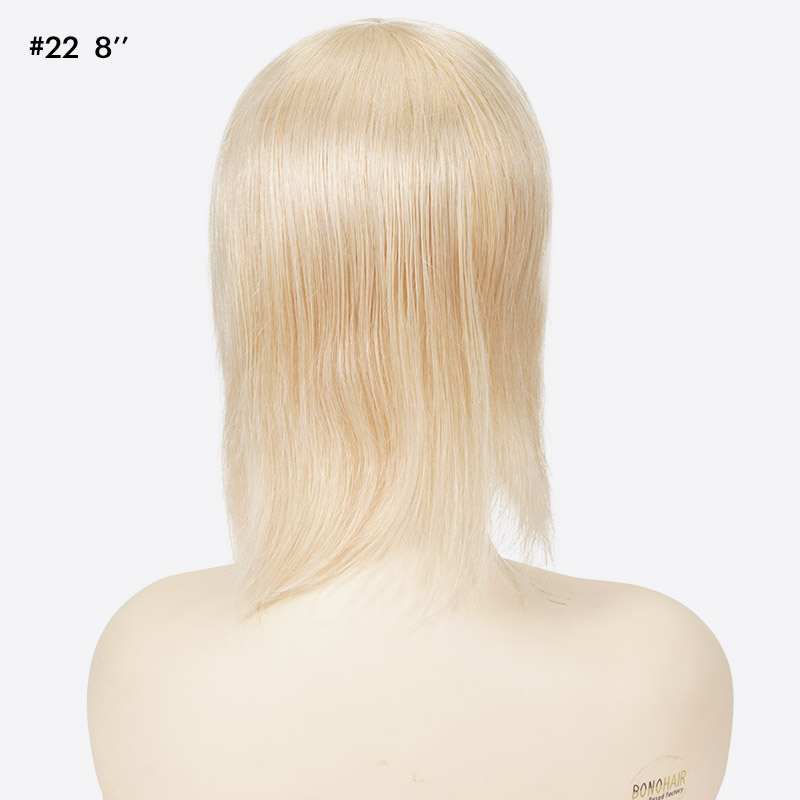
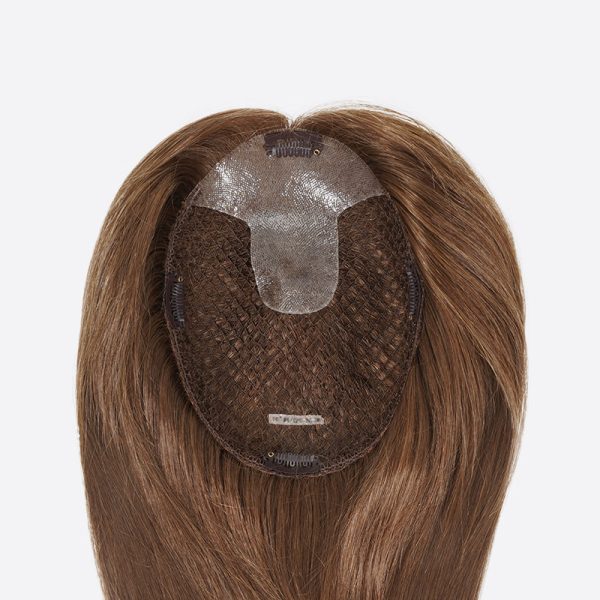
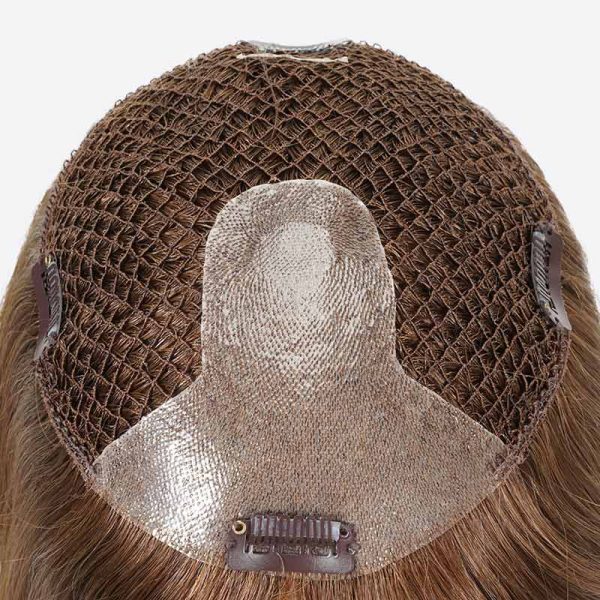
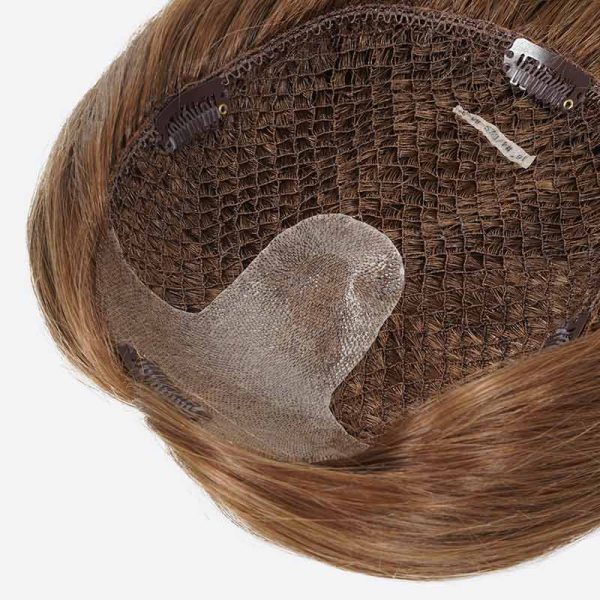
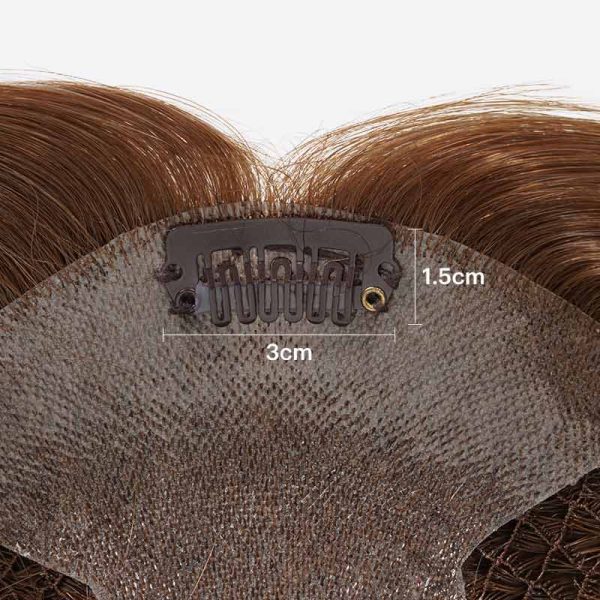
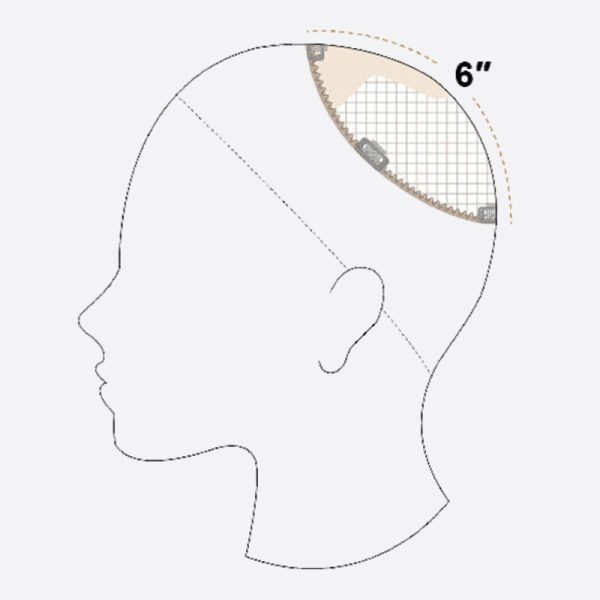
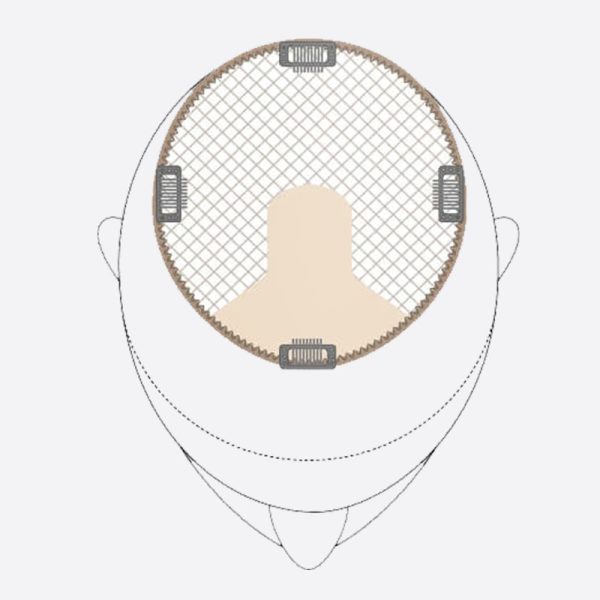
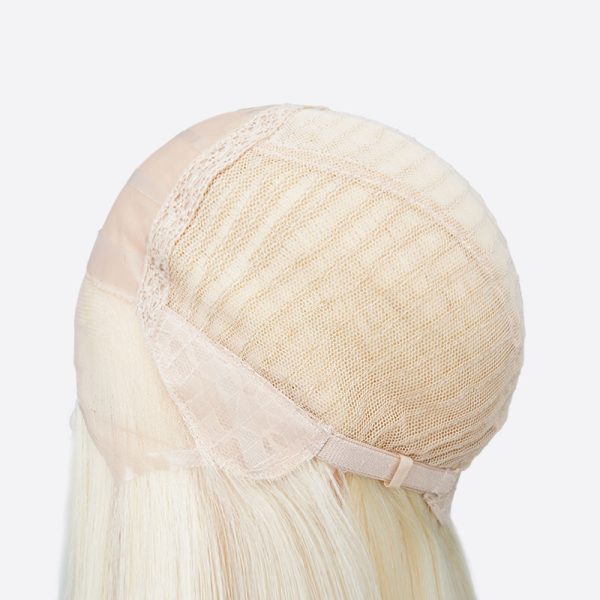
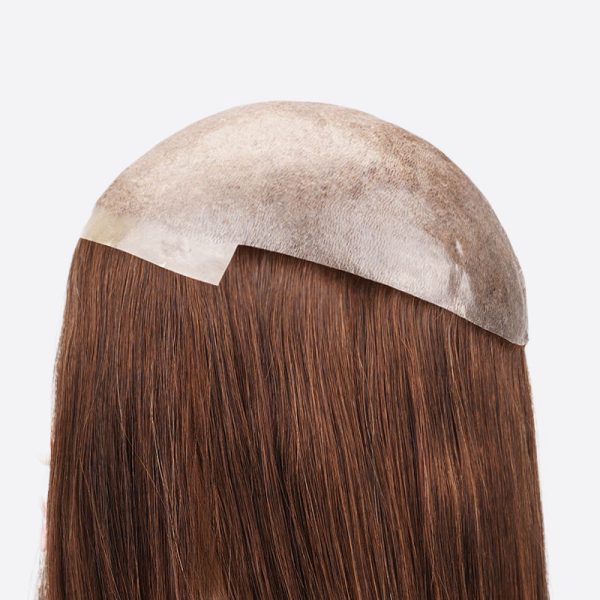
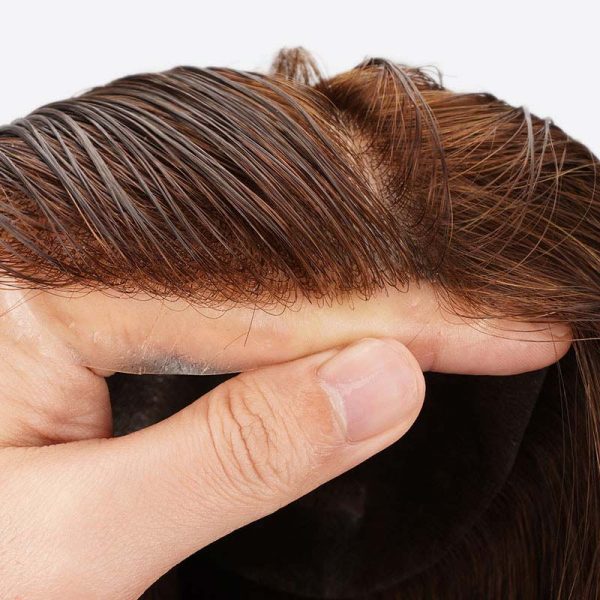
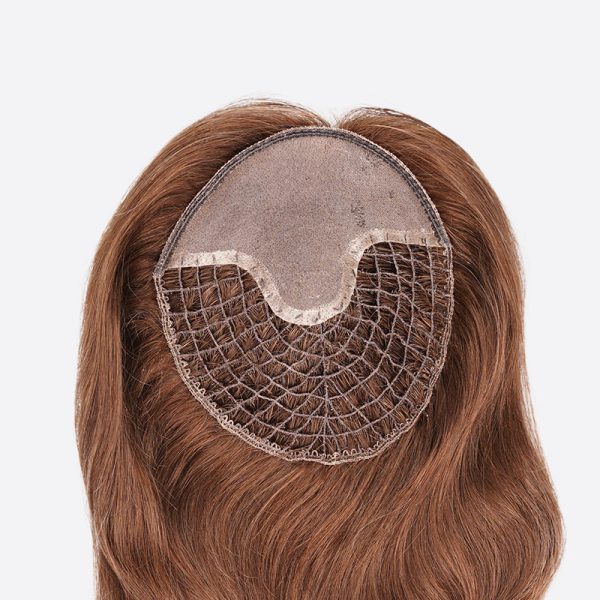
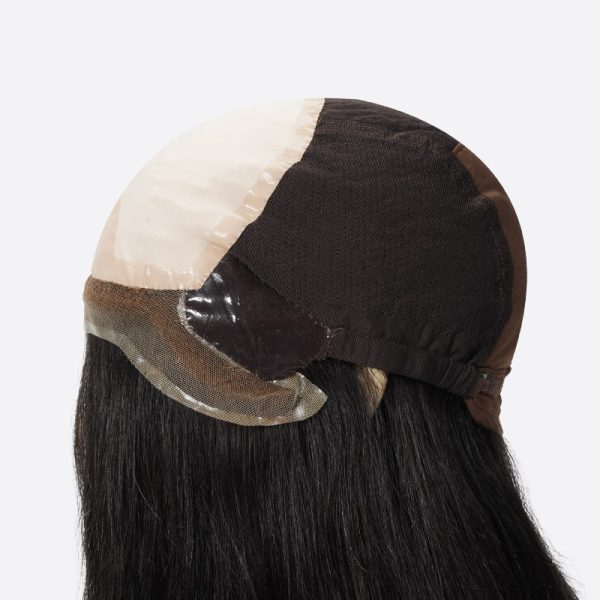
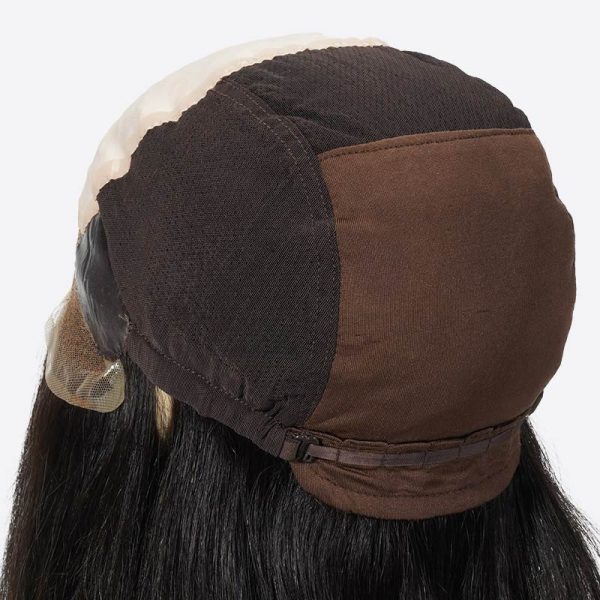
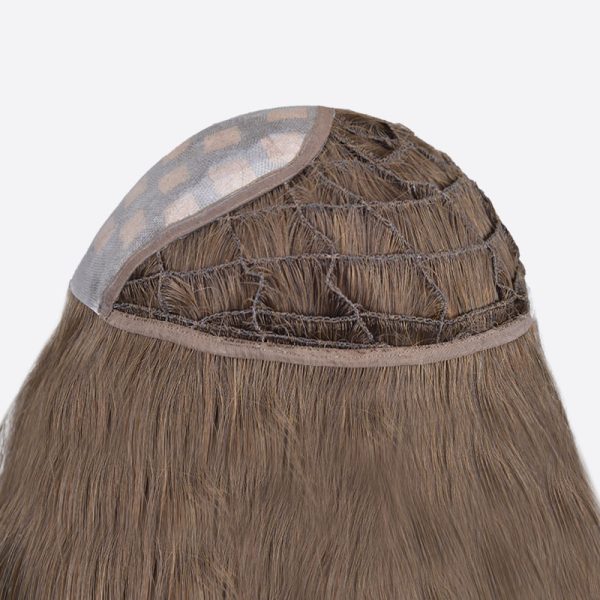
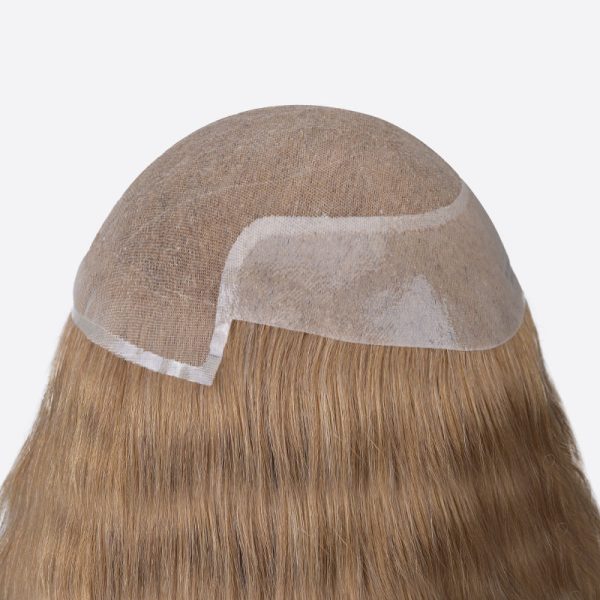
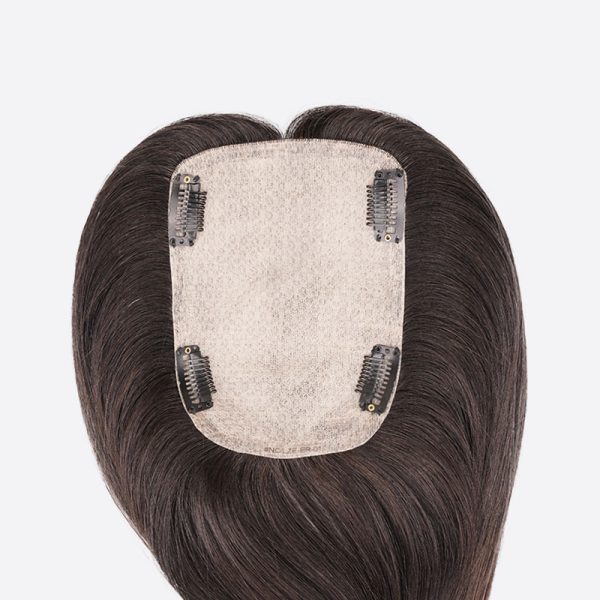
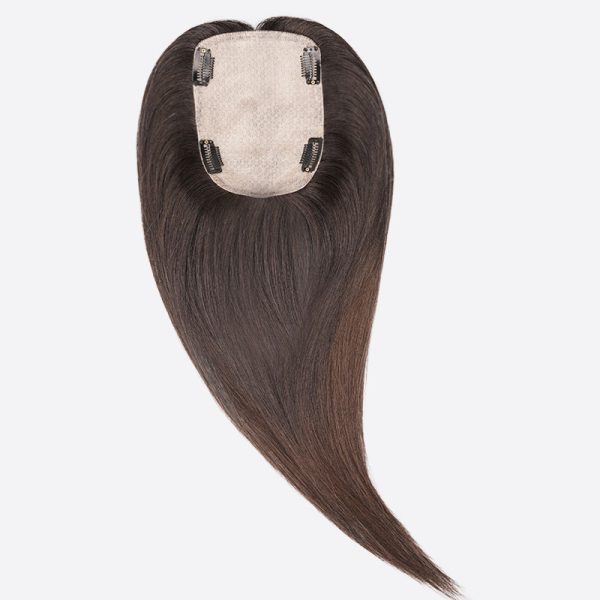
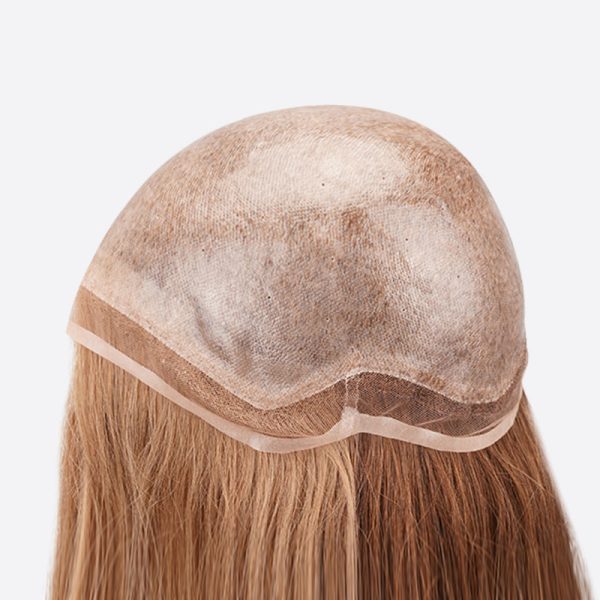
The WTP010 is made out of thin skin and PE lines. The double flower net spans from temple to temple. There are four clips on the top, back and sides. We use single split knots on the clear poly part. The rest of the PE line has double knots. This ensures the integration hair systems are very durable and have a very long lifespan. We add the two lines of underhair at the front hairline. It will help the hair system to blend with the customer’s hair better.
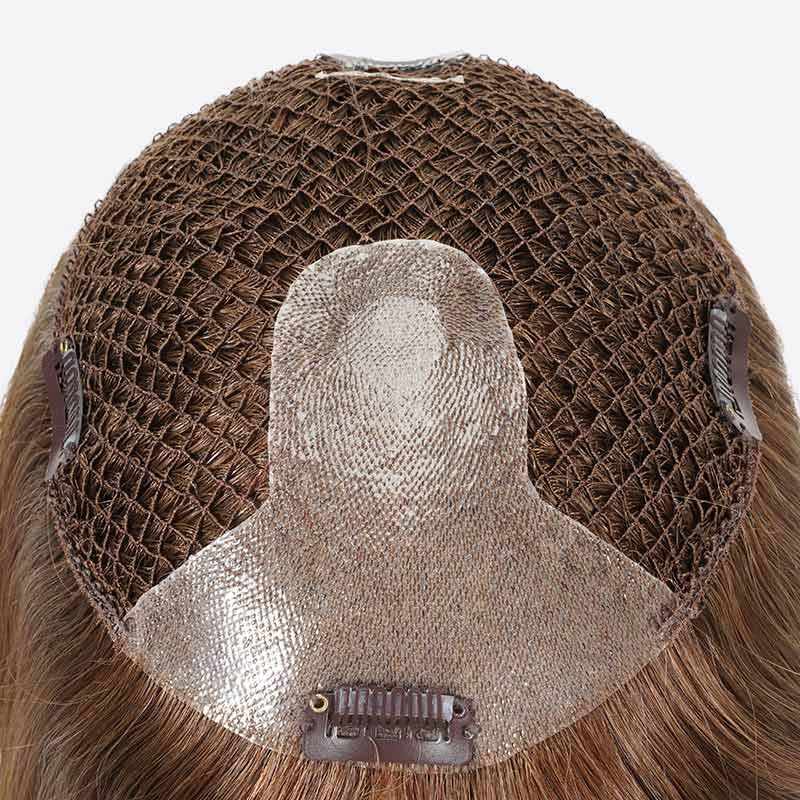
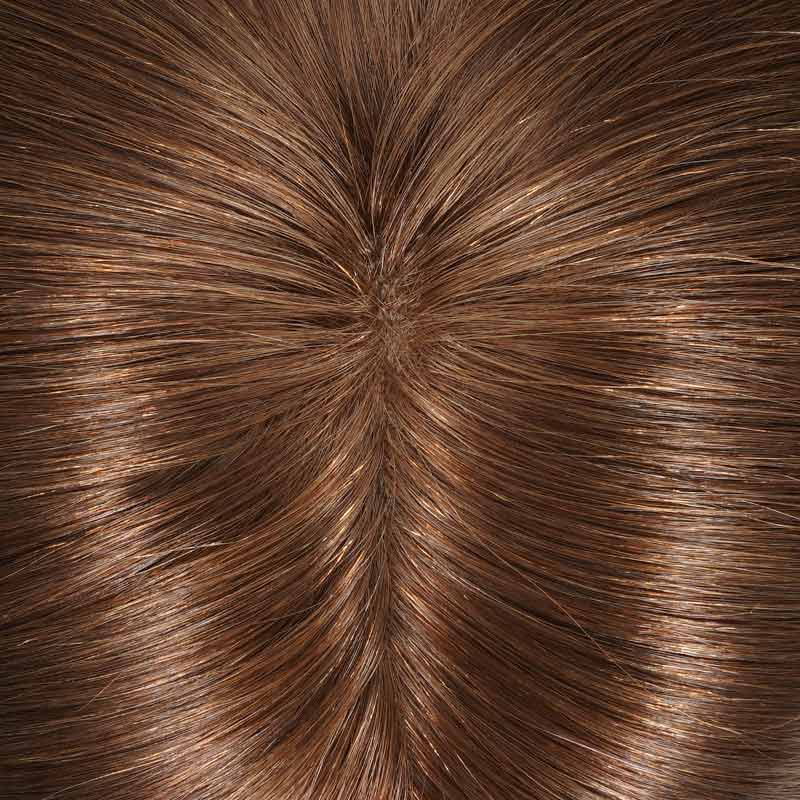
The integration is created by sewing strands of only the best Virgin hair onto a sheer nylon and polyester web-like (honeycomb) cap. When you help your customers to pull the hair through the hair integration pieces, the hair will simply blend with their original hair to create a full-looking head of hair!
Hair integration systems have increasingly been used to solve a variety of women’s hair loss issues. They are a great solution for thinning hair or adding volume, fullness, or hair length. Adding hair integration systems to your list of services will not only increase your income but will establish a new customer base.
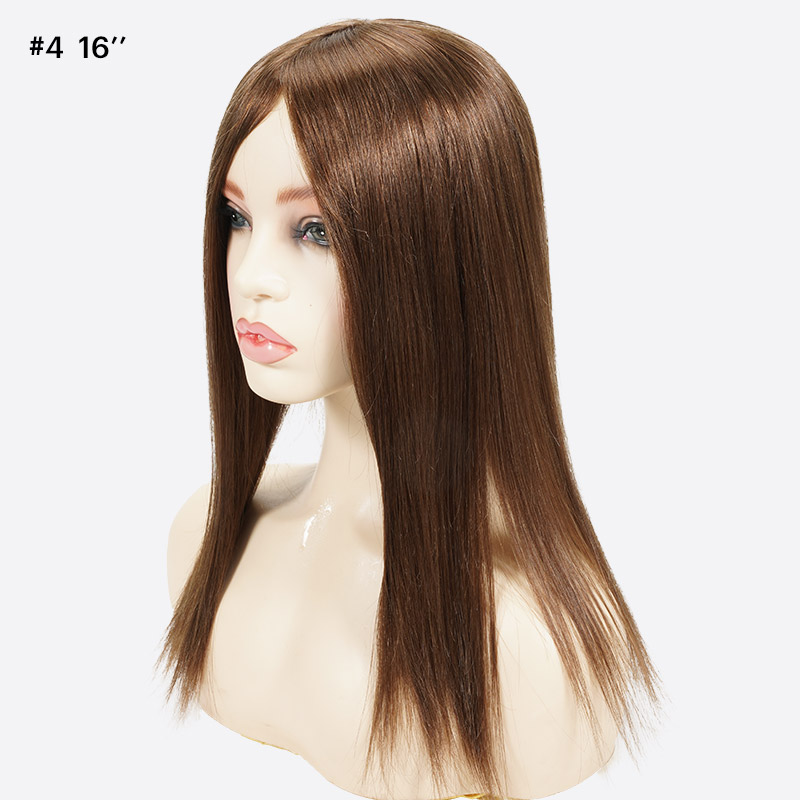
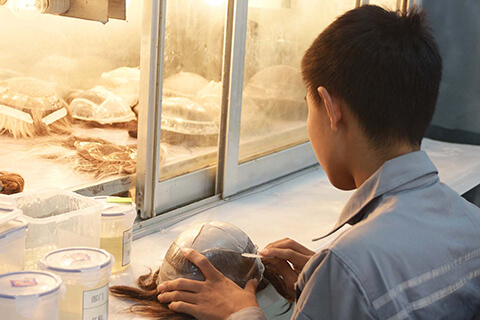
Our highly-skilled hair system workers are trained to create the most natural-looking hair integration systems possible. You can choose from a variety of hair types, unit materials, and colors for your customers. Women’s hair integration systems are increasing in popularity and our team of consultants is waiting and ready to assist you. Our company got the best hair mesh integration system reviews, and the mesh integration hair system near me is on the website of bonohair.com. How long does the mesh hair integration last according to The hair mesh integration system cost. But our product is the most cost-effective.
FAQ
Hair integration systems are used non-surgical technique to blend the natural hair with the hair systems’ hair flawlessly. Hair Integration Wigs Suppliers make hair integration systems by stitching the human hair strands on sheer nylon or honeycomb polyester. Likewise, it has a net system compared with wigs and hair extensions.
The wearer’s all-natural hair pulls through the entire net to blend of system’s hair and also the person’s hair perfectly. It will certainly leave the impression of an ultra-natural, as well as full head of hair. That’s why hair integration systems are additionally known as a pull-through wig, fishnet mattress topper, as well as honeycomb hairpiece. Also individuals like to use these names to make others comprehend that they are discussing the hair integration systems.
Hair integration systems aid to help female who experience hair thinning, irregular hair loss, or partial hair loss at the top or crown of the head, mid-scalp, or perhaps at the hairline areas. So, hair integration systems are the solution to hair loss as well as can be put on as full coverage in extreme cases and on the certain leading head location, normally in light cases.
Unlike wigs as well as hair extensions, it is difficult to discover a hair system that is ideal to use according to the user’s head. Therefore, individuals are more probable to order a custom-made hair system that fulfils their requirements while looking all-natural.
1. Prepare the Head
Preparing the client’s head is a need every single time they come to have hair integration systems. Preparing the head includes coloring, cleaning, and pre-cutting the hair. See exactly how to do all of this.
When tinting a client’s hair, don’t transform the hair color drastically. It is better to let your client go for two shades lighter or darker than their natural hair color. Their natural hair will certainly act as the base color so as to utilize the consistent color all over the head.
After that, the process of cleaning comes. You are required to have sufficient water to avoid product leave-in or item build-up in hair that can aggravate the client’s head. Clean all the hair shade out of the customer’s head. After that, utilize hair shampoo in the hair and carefully massage the scalp too. Rinse the hair extensively once more. And then, use a conditioner to put pack the nutrients in the hair that is removed throughout the tinting procedure. Wash hair once again.
Now, absorb the leaking water from the client’s head. Comb all the hair. Obtain the things prepared for pre-cutting the customer’s hair. Don’t opt for any kind of significant hairstyle. Just reduce the tapered ends or shorten the hair perfectly with client approval, like cutting the hair that gets listed below the shoulder into the lovely lob hairdo.
2. Prep the Hair Integration System
Currently, you need to prepare the hair system to install. Ask your client if they desire it to be the same as their natural hair entirely or want to include some highlights to them. Don’t forget to bring the aluminum foils to fold hair after using color to develop subtle, stunning color transitions in hair.
Clean the hair system to wash out all the hair shade as well as completely dry it. In all the treatments, care not to harm the bonds or clips of the hair system. Bear in mind to use origin darkness after using color for highlights and hindering one after another.
Clean the hair integration system after a particular time. Afterward, secure hair on a mannequin head as well as design it like a stylish blow-dry appearance.
3. Install the Hair Integration System
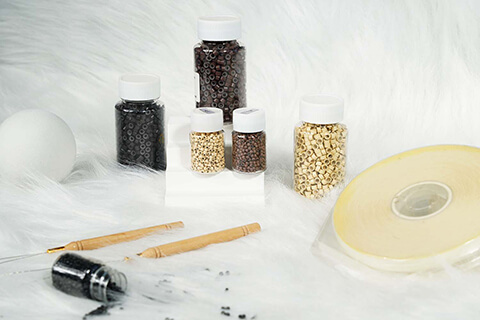
For setting up a hair system, you require a few things, a white shade (drawing) pencil with a soft idea that can leave a mark on hair and can be rapidly washed away, a wig crochet needle, and a tail comb.
At first, you need to mark all the areas, specifically where the bonds will be attached. These assisting factors will certainly help you progress in installing a hair system with no unpredictability. Mark the hairline where it requires to have insurance coverage.
Then wear the hair system on the customer’s head. Initially, begin setting down or mounting the bonds on the hair from the front, then at the sides, and afterward at the backside of the head.
Now, an essential thing concerning the hair system requires to be modified as well as informed here. There are 4 various hair integration attachment methods: clip-ins, Open Fusion Technology, Beads, and Intertwining the Hair System right into the Client’s Hair.
In the clip-ins hair integration system, there are pressure-sensitive clips attached to it that help to mount the integration system as well as remain in its area. When mounting, see to it to the front clips in the customer’s hair then sides and also back. When they want, this is the quickest as well as the most straightforward approach that permits anybody to eliminate their hair integration system anytime.
After setting the front hairline, protect the hair system while pulling hair with the tabs around the boundary of the system. After you draw some hair through tiny openings, flat the hair with your hand, and reassess where the hair system needs much more protection.
4. Cut as well as Design the Integration System
Currently, you are at the last action of installing a hair system, cutting, and styling.
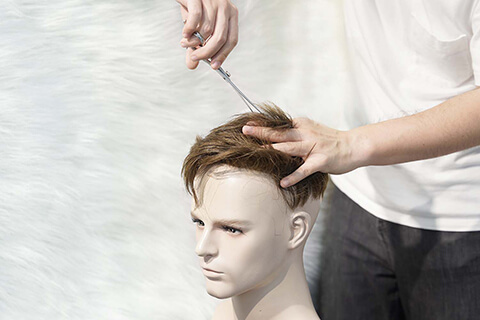
This is the time you require to match the hair system’sstyle with the customer’s hair if your customer decided to pre-cut. Aside from just matching the hair length, you need to cut it in the design you cut while pre-cutting.
After that don’t leave the client’s head like hair streaming openly. Style them as well as provide an appropriate form. Remember to utilize the items that are not alcohol-based as well as implied to be utilized in the hair assimilation system.
| Product Code | WTP010 |
| Base Design | Fish net with a PU in front and top; 4 pressure-sensitive clips |
| Base Size | 16cmx18cm (6.3″ × 7.1″) |
| Front Contour | CC |
| Bleach Knots | No |
| Knot Type | Single knots and double knots |
| Hair Type | Virgin hair |
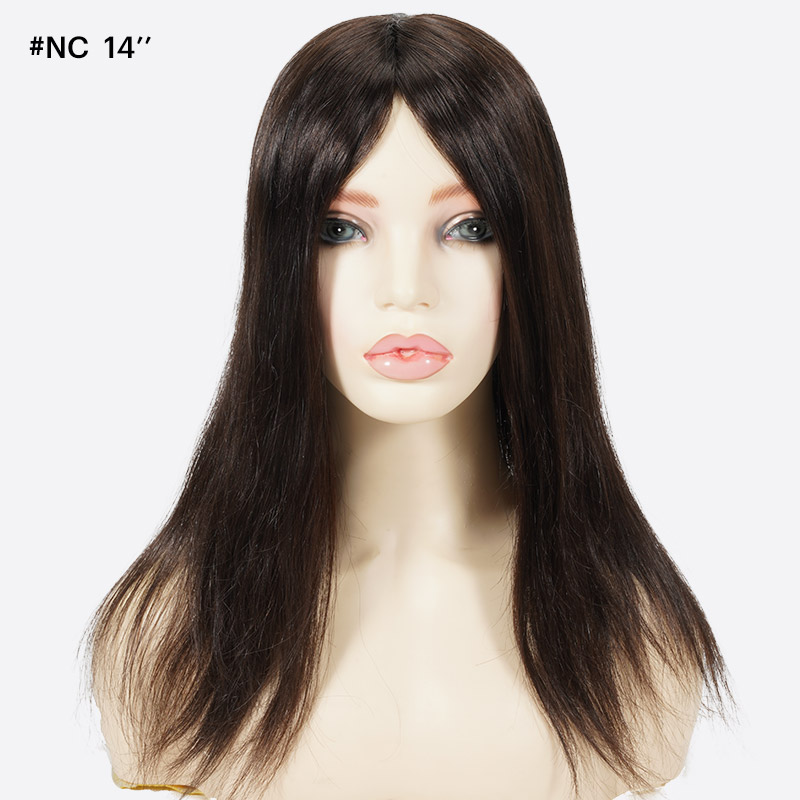
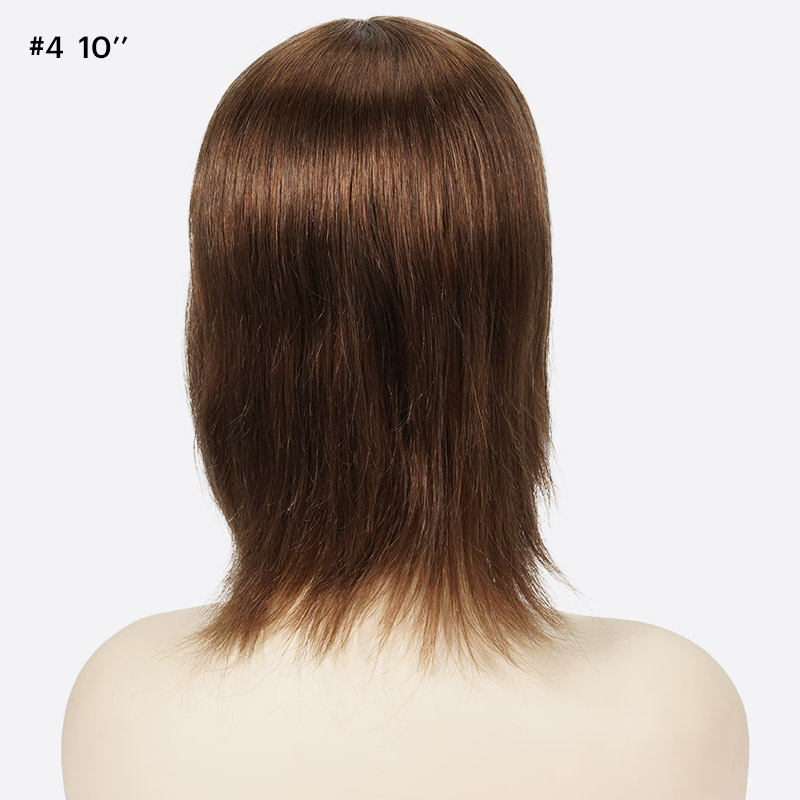
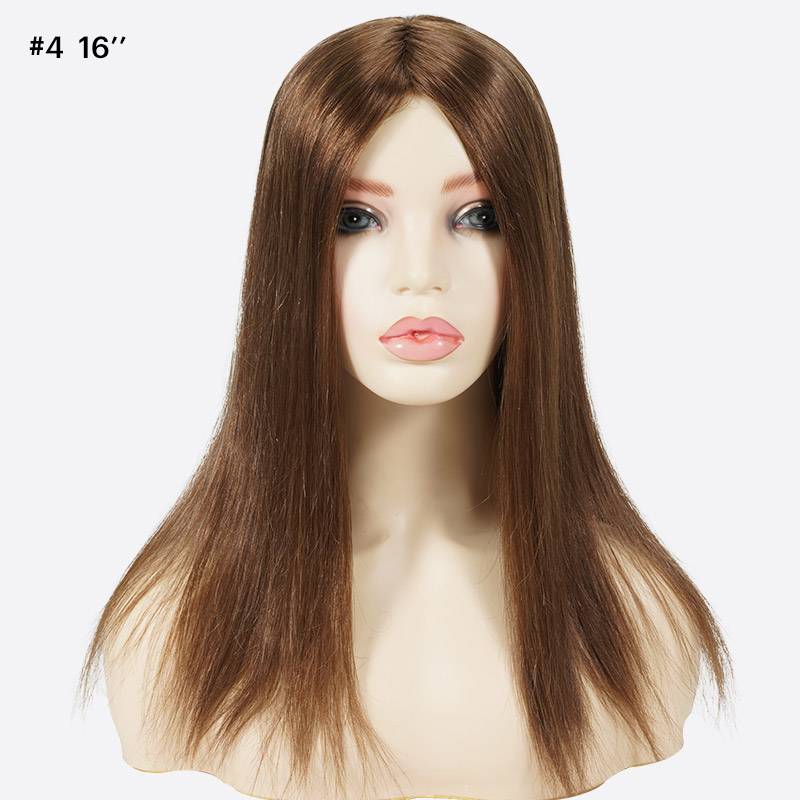
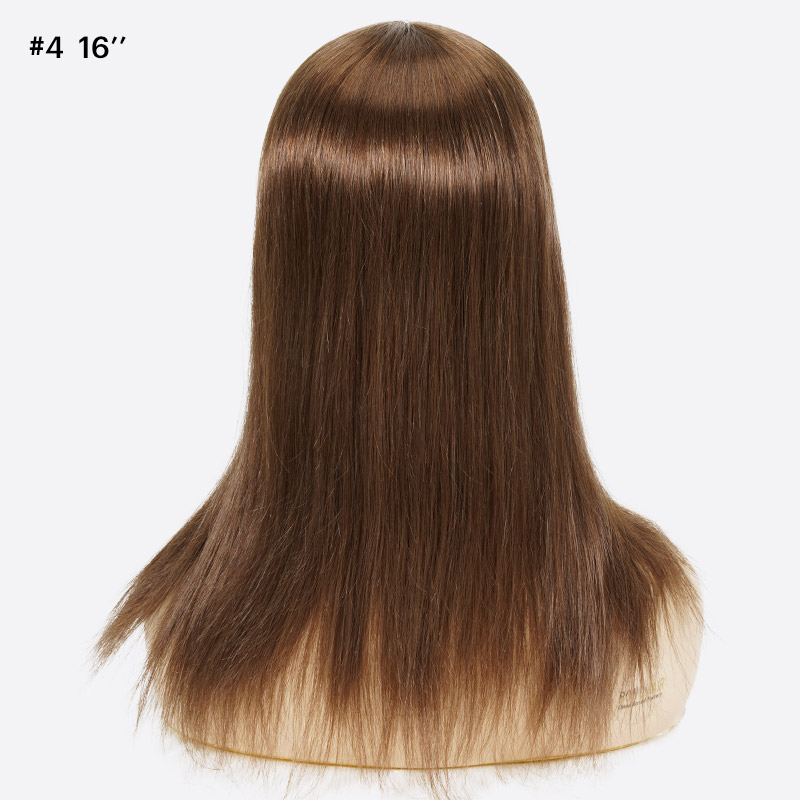
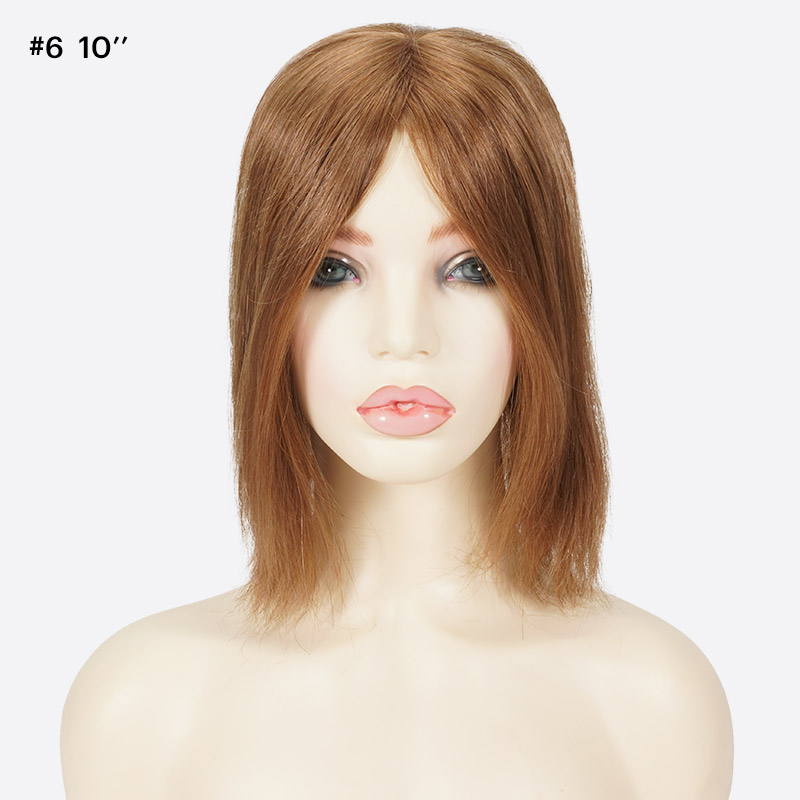
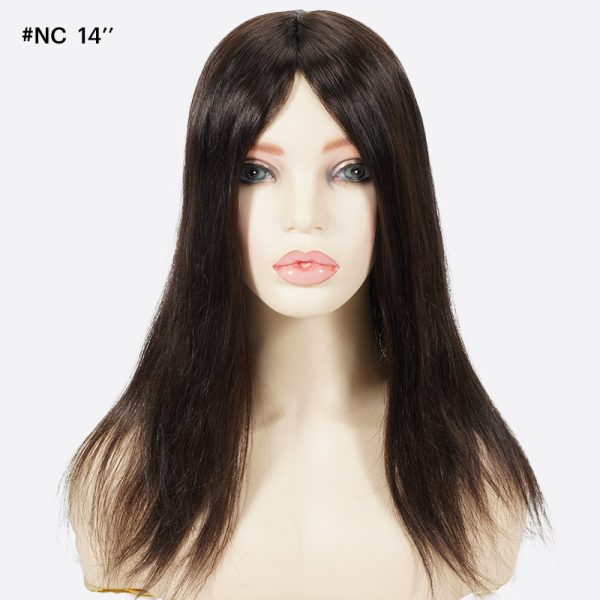
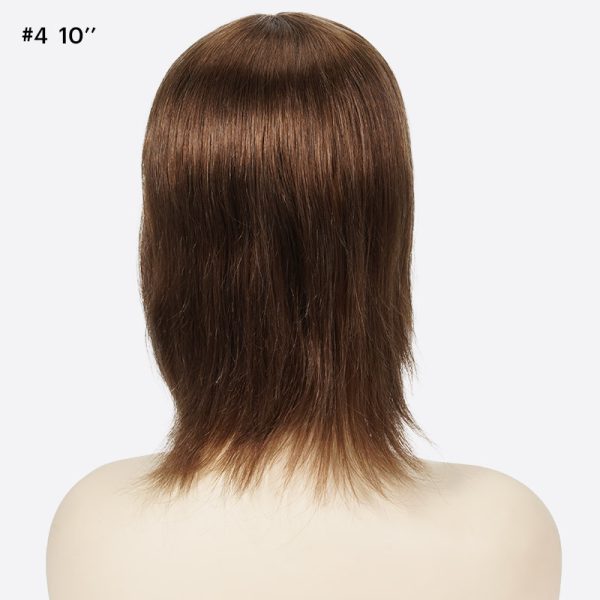
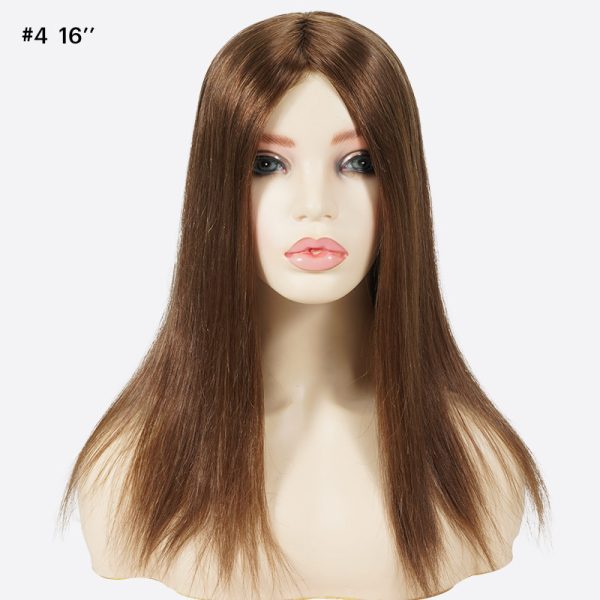
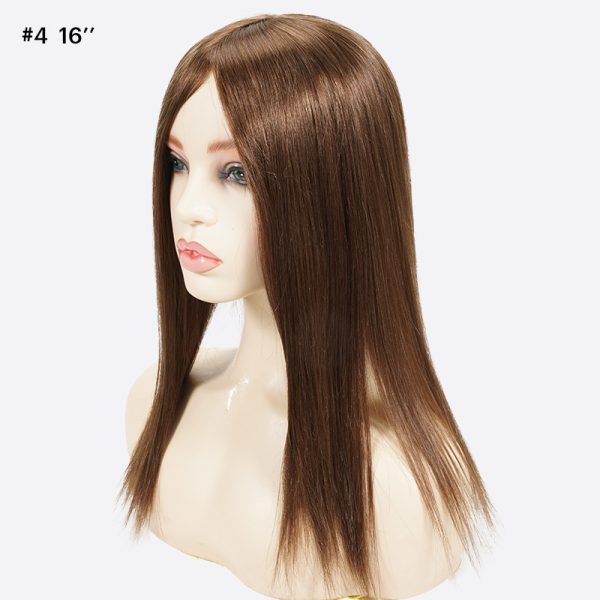
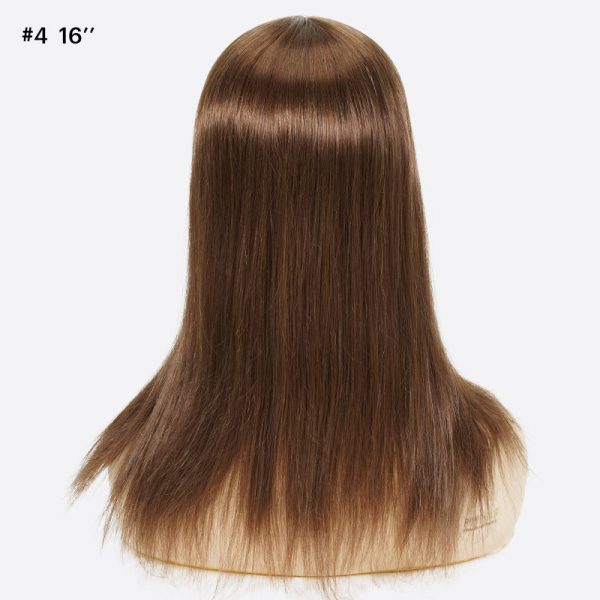
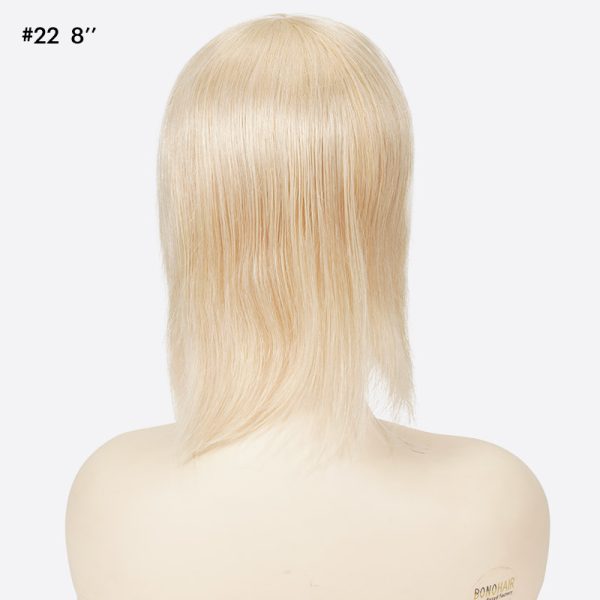
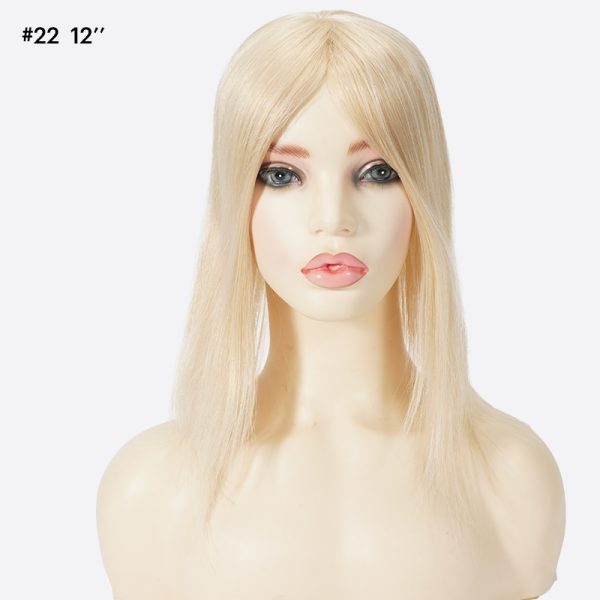
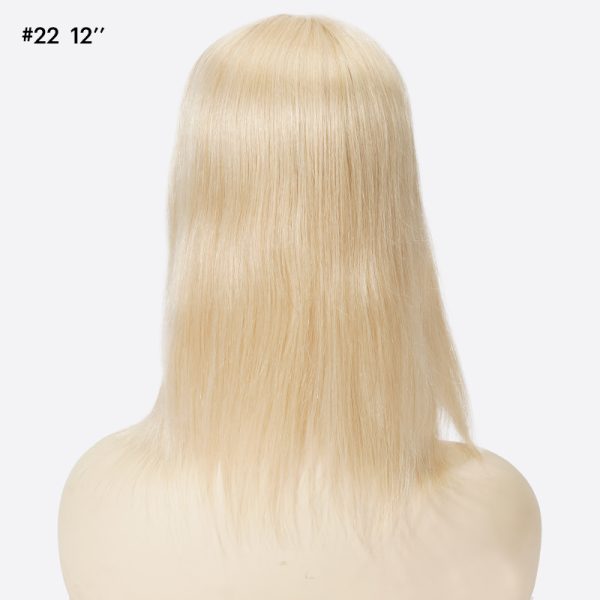
| Hair Length | 10”, 12”, 14″, 16″ |
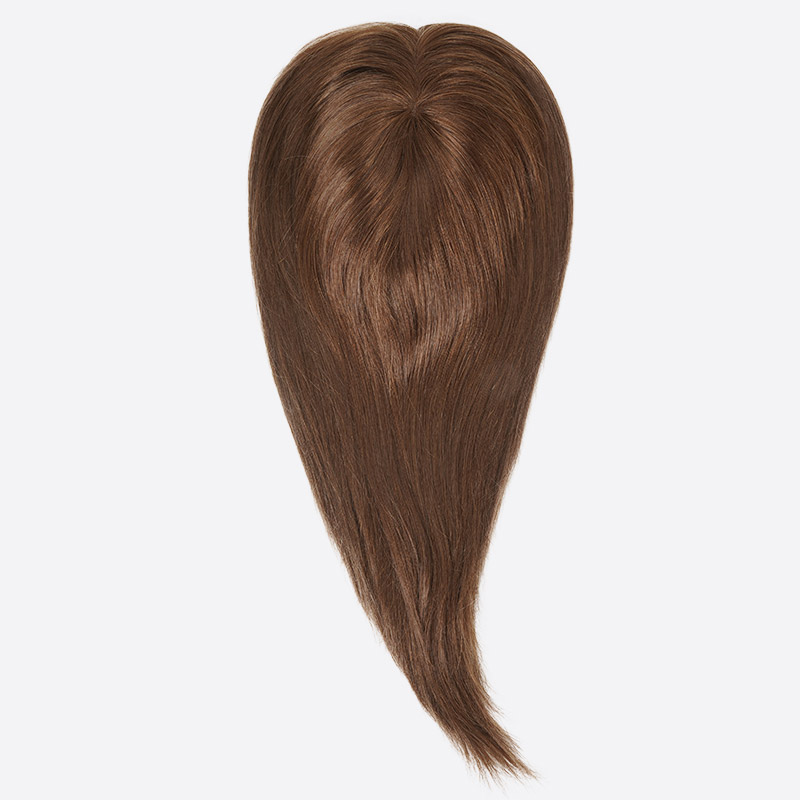
| Hair Wave/Curl | Straight, can be styled with heat tools |
| Hair Density | Medium Light to Medium(110%) |
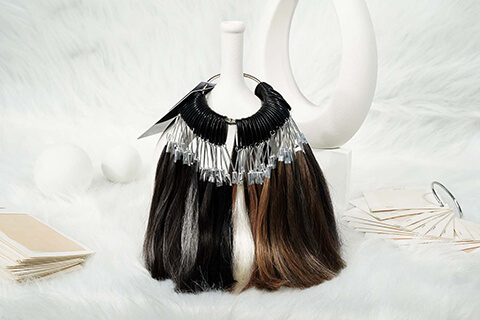
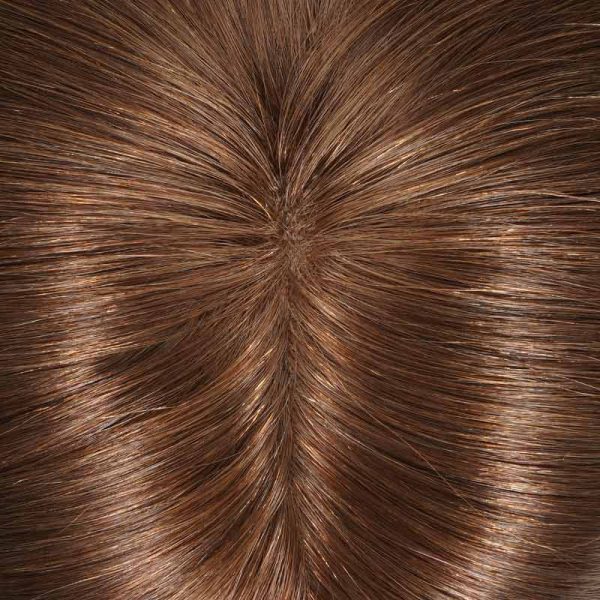
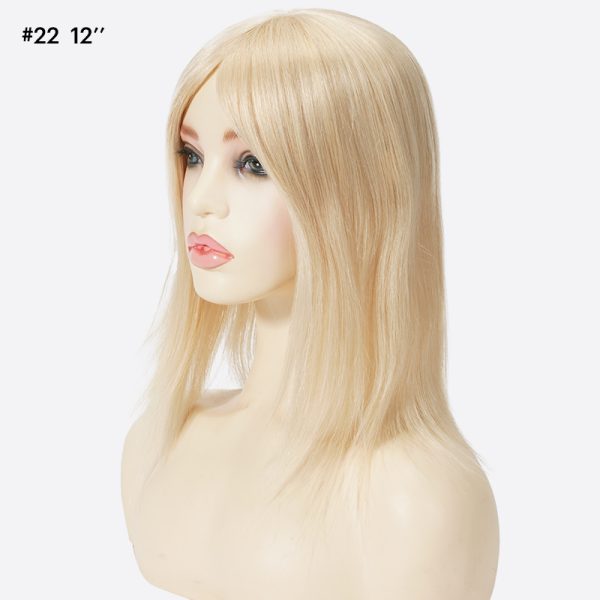
| Hair Color | #NC, #4, #6, #613, #22 |
| Hair Direction | Center part |
Inquiries & Questions
Related products
WOMEN'S HAIR



Reviews
There are no reviews yet.